
Last updated November 15, 2026
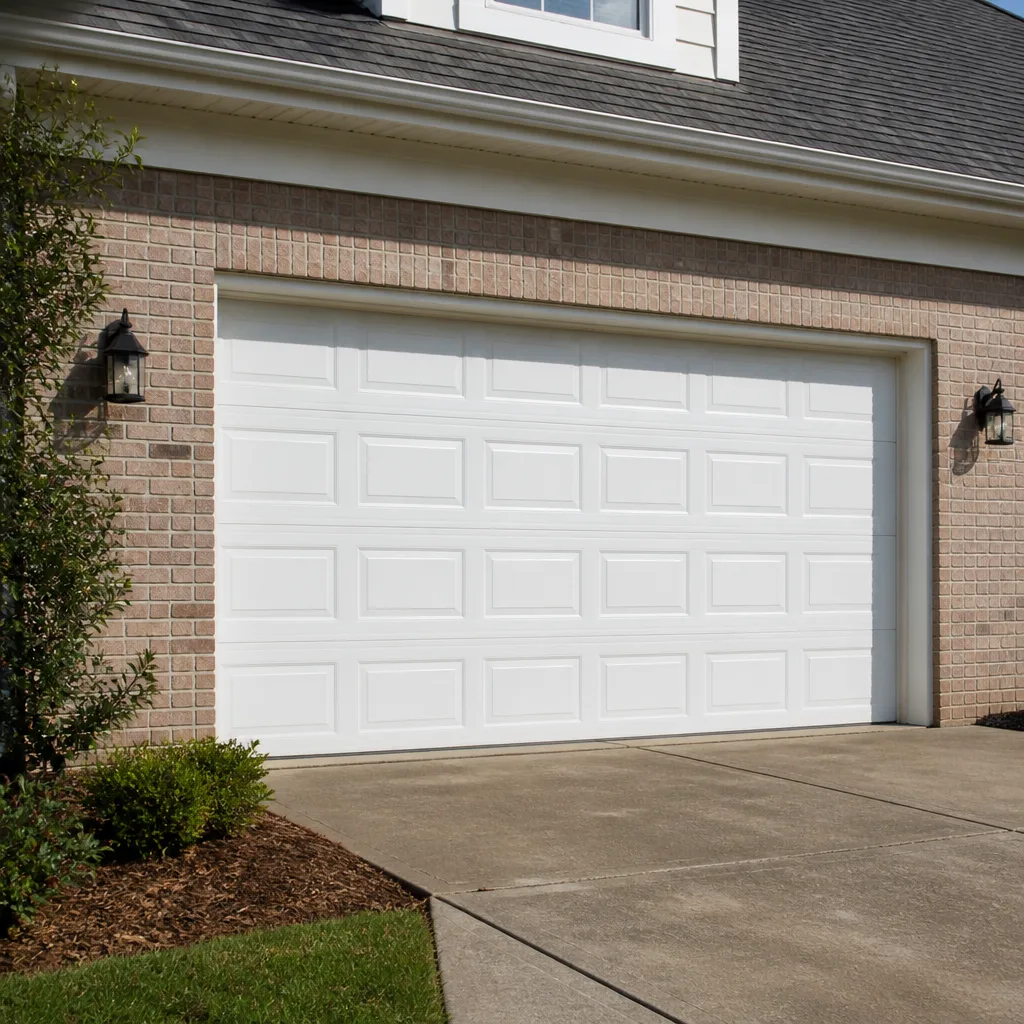 Raised-panel steel
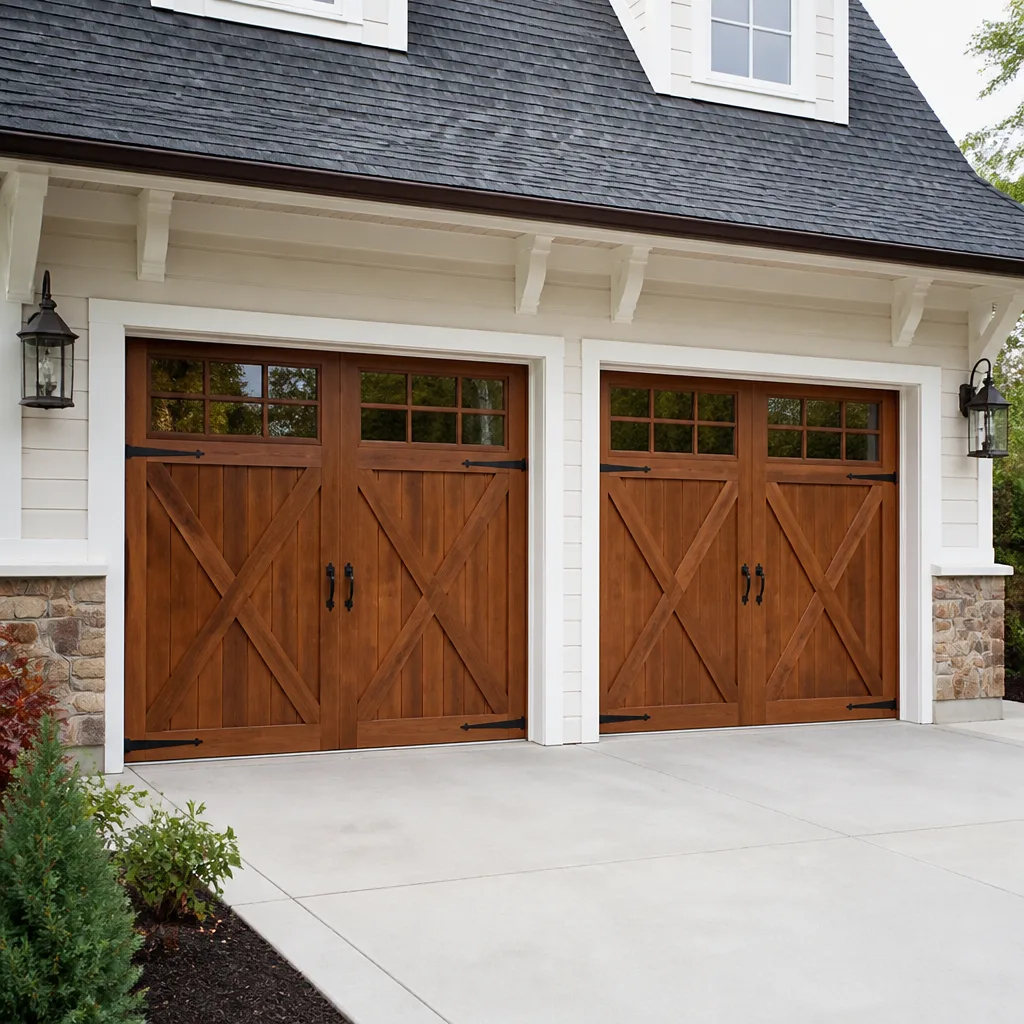 Carriage house
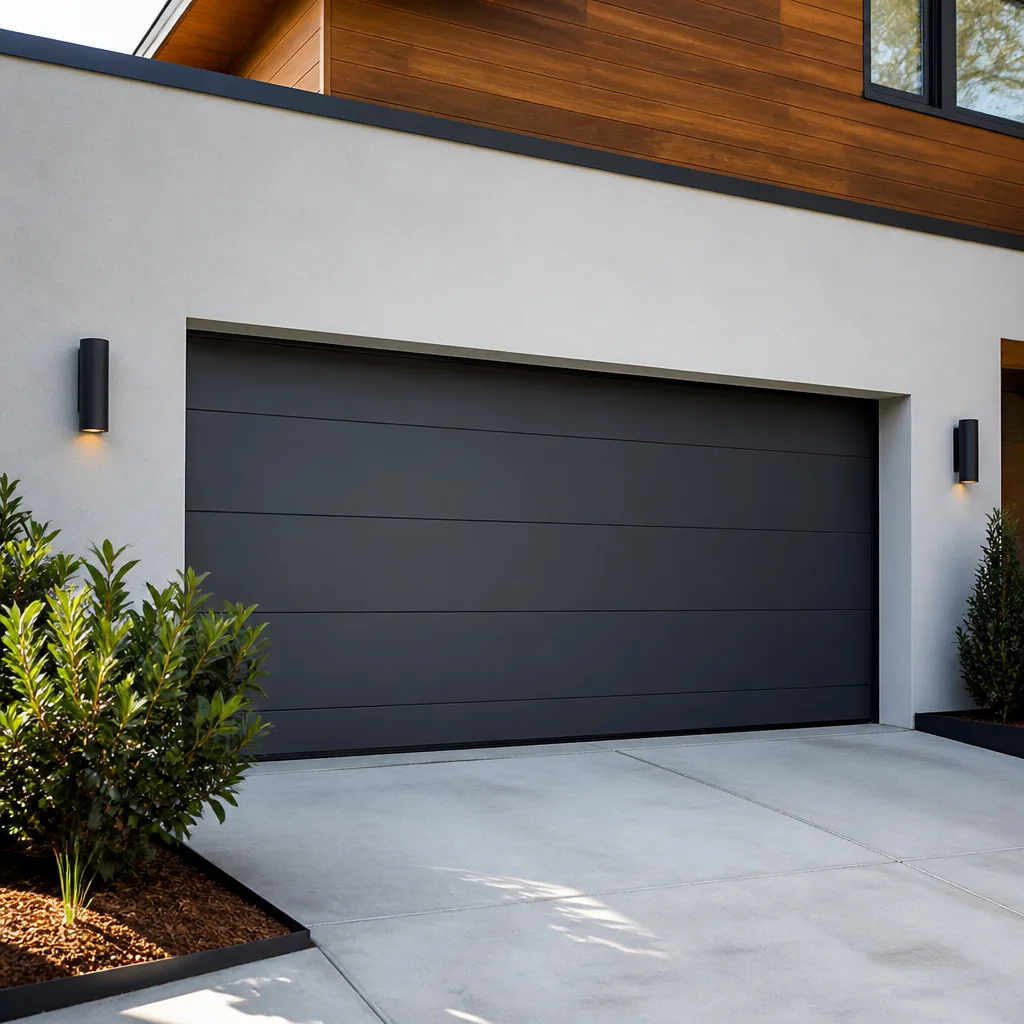 Modern flush
 Full-view glass
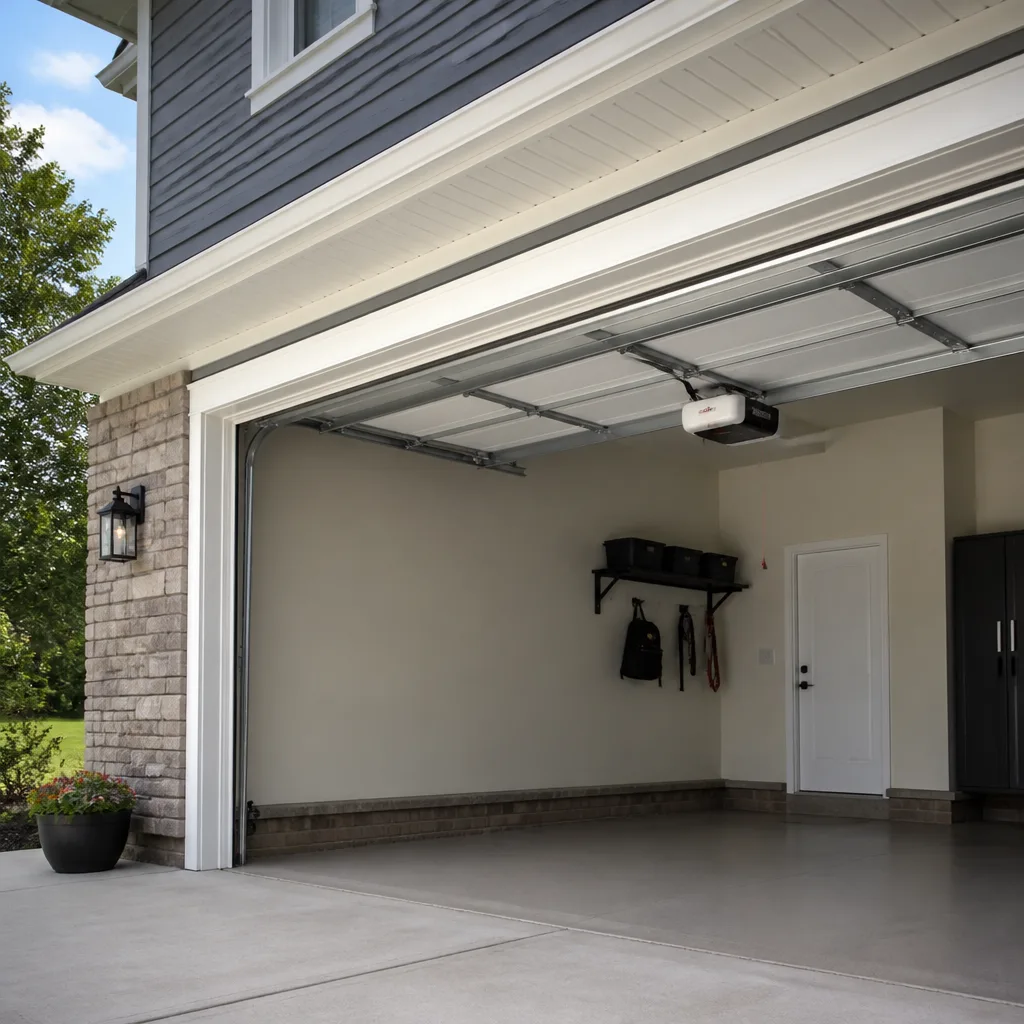 LiftMaster openers
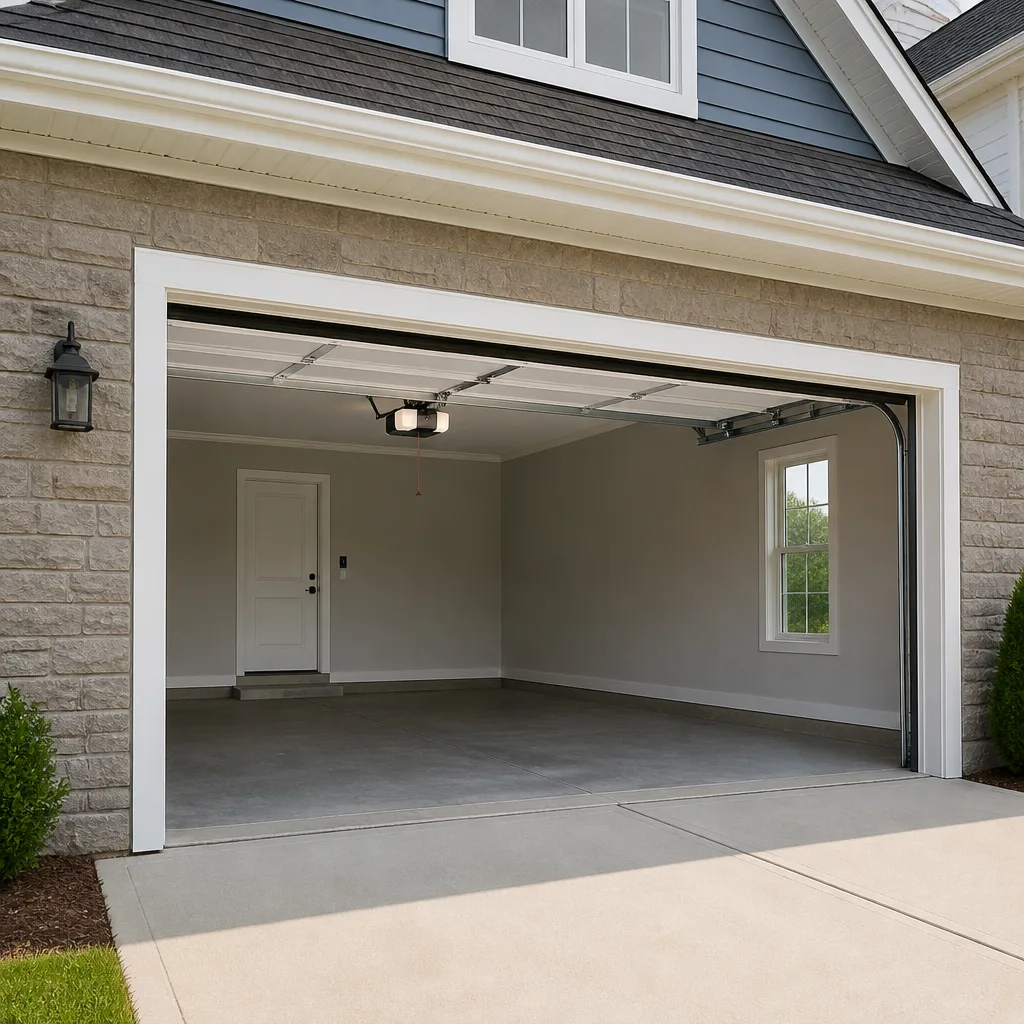 Chamberlain openers
Full 25-point door and opener safety check with every visit - springs, cables, rollers, tracks, and your LiftMaster or Chamberlain opener included
You get a price before we start. It does not change when the pro arrives.
Get your free estimateGarage Door Repair Maintenance Schedule: What to Do and When
Most maintenance advice for garage doors starts and ends with “lubricate twice a year.” That advice is fine as far as it goes, and it’s also where a lot of doors quietly go wrong. The lubricant most people reach for first, the can of WD-40 sitting on the shelf, is a solvent-based product that will dry out rollers and attack the plastic components in your door’s hinges and bearings over time. And a twice-a-year routine ignores the thing that actually wears a door out in Lakewood: a freeze-thaw cycle that works on metal and seals for months, followed by a dry stretch of Front Range wind and grit that grinds its way into every moving part. Below is a schedule built around what your door really goes through here, what to use where, and how to read the wear indicators so you’re replacing parts on your own terms instead of after something breaks.
Quick Answer
A garage door needs real attention at four points in the year: a spring tune-up and balance check, a mid-summer inspection after the dry, dusty stretch, a fall prep before the first freeze, and a winter check for ice and seal damage. In between, you clean and lubricate the right parts with the right products, not whatever’s handy. The single highest-value task is a force sensitivity check on your opener, which takes under 10 minutes and can add years to the motor’s life.
Styles & brands we work with
- Raised-panel steel
- Carriage house
- Modern flush
- Full-view glass
- LiftMaster openers
- Chamberlain openers
Table of Contents
- Why a Year-Round Schedule Beats a Twice-a-Year Habit
- The Lakewood Month-by-Month Maintenance Calendar
- Which Lubricants to Use, and Which Ones to Keep Away
- How to Read the Wear Indicators on Springs, Cables, and Rollers
- The 10-Minute Opener Task That Extends Motor Life
- The Maintenance Log That Pays You Back at Resale
- Common Mistakes to Avoid
- When to Call a Professional
Why a Year-Round Schedule Beats a Twice-a-Year Habit
A garage door is one of the few systems in your home that moves thousands of times a year, and every one of those cycles puts load on the same handful of parts. Springs stretch and release. Cables bend over their pulleys. Rollers turn inside their tracks. When those parts fail slowly, they fail predictably, and a schedule lets you catch them while a fix is still cheap and simple. When they’re ignored, the same wear turns into a snapped spring, a cable off its drum, or a bent track that stops the door mid-travel.
What makes Lakewood different is the seasonal swing. Our freeze-thaw cycle is the real engine of wear here. Water works into seams and around the bottom seal, freezes, expands, thaws, and repeats, and it loosens fasteners and stiffens anything rubber or plastic along the way. Then the dry months bring wind-driven dust from the Front Range that settles into hinges and rollers and turns into an abrasive paste if it isn’t cleaned out. That’s why a generic manufacturer checklist undersells what your door needs in Lakewood. The schedule below is built to line up with what the door is actually going through each season, not with a calendar someone printed in a factory somewhere else.
The good news is that most of this is homeowner-level work. The schedule splits into tasks you can do yourself and two or three that belong to a trained technician, and knowing which is which is the whole point of the guide.
The Lakewood Month-by-Month Maintenance Calendar
This calendar is the heart of the schedule. It’s grouped by season so you can plan around what your door is going through, and each entry is short enough to actually do. If you’re handy, most of these are a flashlight, a rag, and a can of the right lubricant. The ones marked for a technician involve high-tension springs or the opener’s internal settings, and those are worth a call.
Spring (March through May): The Tune-Up
- Wash and inspect the door panels. Look for cracks, bubbling paint, or soft spots, and touch up any bare spots on steel before they spread. Dust and grit from winter are still in the tracks, so wipe them out before you lubricate anything.
- Test the balance. Disconnect the opener and lift the door halfway by hand. It should hold roughly where you let go. If it drops or rises on its own, the springs need attention.
- Check the auto-reverse. Place a roll of paper towels or a block of wood under the door’s path and let it close. It should reverse on contact.
- Schedule the force sensitivity check on the opener (see the section below). This is the annual task that matters most for motor life.
Summer (June through August): The Dust Inspection
This is the stretch when Lakewood’s dry wind carries grit into every hinge and roller. In summer, clean the tracks with a dry rag and a little solvent-free cleaner, then apply a proper lubricant. Check the hinges for loose screws, tighten them so they don’t wallow out the wood or metal, and look at the rollers for flat spots. Run the door up and down a couple of times and listen; a squeak here in summer is a worn bearing you can replace before it scores the track.
Fall (September through November): The First-Freeze Prep
- Lubricate hinges, rollers, and springs with a lithium- or silicone-based product before the cold sets in.
- Inspect the bottom seal. A cracked or stiff rubber seal will let water freeze against the door’s threshold. Replace it now, not in January.
- Clear the tracks of leaves and grit so nothing freezes in the channel.
- Check weatherstripping around the frame and along the sides, and fix any gaps before winter wind finds them.
Winter (December through February): The Ice Check
This is the season for observation, not heavy work. Snow and meltwater can freeze across the threshold and stiffen the bottom seal, so clear ice away from the door’s path and check that the seal hasn’t torn. Cold makes metal contract and makes a weak spring feel weaker, so if your door suddenly feels heavier or the opener strains, get it looked at rather than forcing it. Frost and ice are hard on the paint at the bottom edge, so touch up any chips before they turn into rust.
Which Lubricants to Use, and Which Ones to Keep Away
Here’s the part almost no guide covers, and it’s the one thing most likely to cost you money. The product you choose matters as much as whether you lubricate at all. Some common products actively accelerate wear, and a couple of them are probably in your garage right now.
What to Keep Off Your Door
- WD-40 and similar solvent-based sprays. These are penetrants and cleaners, not lubricants. They cut through grease and gunk, and then they evaporate and leave parts dry. On nylon or plastic rollers and in nylon hinges, repeated use breaks down the material. Use them to free a stubborn bolt, never as routine door maintenance.
- Heavy grease and white grease from a tub. Grease holds grit. Around Lakewood, wind-blown dust sticks to grease and turns it into a grinding paste that wears rollers and the track. It also gets stiff in cold weather.
- Anything not meant for a moving part. If the can doesn’t say it’s a lubricant for bearings or metal-to-metal contact, don’t spray it on the door.
What to Use, and Where
| Part | Product to use | How often |
|---|---|---|
| Hinges and roller bearings | Lithium- or silicone-based lubricant | Twice a year (fall and spring) |
| Springs (coil) | Light silicone spray or a purpose-made door lubricant | Once a year |
| Rollers and tracks | Dry cloth for cleaning; silicone spray lightly, never grease | Summer and fall |
| Nylon rollers and plastic components | Silicone spray only, never solvent sprays | Twice a year |
| Bottom seal and weatherstripping | Silicone spray to keep rubber supple | Fall |
A note on springs: a silicone spray on a coil spring is fine, but nothing about lubricating a spring changes the fact that it’s a high-tension part under extreme load. Keep your hands off it. If you see a gap or a broken coil, that’s a technician’s job, and it’s one we handle as part of routine garage door repair around Lakewood.
How to Read the Wear Indicators on Springs, Cables, and Rollers
The goal of a maintenance schedule is to replace parts before they fail, and that means learning what a wearing part looks like while it still works. Here’s what to look at, and what each sign means. You’re reading, not fixing, on everything in this section.
Springs
- A visible gap in the coil on a torsion spring is a break. Stop using the door and call a technician. This is not a part to inspect up close with your hands near it.
- Sagging or stretched extension springs (the ones that run alongside the track on older doors) are near end of life. If they’ve lost tension, the door will feel heavy.
- A door that lifts easily and then slams down when you test the balance in spring is telling you the spring has weakened.
Cables
- Frayed strands or a birdcage look at any point along the cable means it’s failing. Cables are under high tension, so don’t touch them; get a technician.
- A cable that’s jumped off its drum is a repair call, not a maintenance item.
- Rust along the length is a sign moisture is getting in, which is common in Lakewood’s freeze-thaw months. A little surface rust on the drum is fine; rust that pits the cable is not.
Rollers
- Flat spots or a wobble as the door moves means the roller bearing is worn. Replace rollers in sets, not one at a time.
- A grinding sound in the track points to a dry or seized roller. Lubricate a nylon roller with silicone; a steel roller that’s scored should be replaced.
- Visible grit in the track means the roller is riding on dirt. Clean the track first.
Reading these signs is the difference between replacing a roller for a small amount and replacing a track because the roller scored it. That’s the logic behind the whole schedule. It’s also why we’d rather diagnose a door’s actual condition than push the easiest part swap; the fix your door needs is the one that keeps it running, and the team at Linden Garage Door Repair works on the major brands so you’re not turned away over what’s on the door.
The 10-Minute Opener Task That Extends Motor Life
If you do one thing on this list every year, make it the force sensitivity calibration on your opener. It takes under 10 minutes, costs nothing, and it’s the single task most likely to add years to the motor’s life. Here’s why it matters and how it works. Your opener has a force setting that tells the motor how hard to push before it gives up and reverses. Over time, as the door’s springs weaken and the rollers dry out, the door gets harder to move, and the opener compensates by working harder on every single cycle. That extra load is what wears out a motor, and recalibrating the force setting lets the opener sense resistance accurately instead of straining against it.
- Disconnect the opener from the door using the manual release, and run the door by hand. It should move smoothly with moderate effort. If it’s stiff, the door needs mechanical attention first, and a force adjustment will only mask the problem.
- Reconnect the opener and locate the force adjustment controls on the opener unit. On most LiftMaster, Chamberlain, Genie, and Craftsman units these are labeled screws or dials, often marked “up” and “down” force.
- Follow the manual for your model to set the force to the manufacturer’s recommended baseline, then test the auto-reverse with an object under the door. It should reverse on contact and also stop if it meets resistance while closing.
- Test it a few times to confirm the door reverses reliably without being so sensitive that it stops on its own.
This is the opener diagnosed as its own system, not an afterthought to a door repair. If you’re not comfortable adjusting the unit yourself, or you’re not sure which model you have, our dedicated garage door opener repair service handles it. The same annual logic applies to a Genie or a LiftMaster just as it does to any other brand, because the physics of the motor doesn’t change with the logo.
The Maintenance Log That Pays You Back at Resale
Here’s a low-effort habit with a real payoff: keep a simple maintenance log. A printed sheet clipped to the wall of the garage, or a page in a notebook, is enough. The idea is to record what you did, when you did it, and what you noticed. When you sell the home, a documented service history for the garage door is concrete evidence that the biggest moving system on the house was looked after, and buyers and inspectors notice.
What to record in the log:
- Date and task for each item on the calendar (lubrication, balance test, seal replacement, force check).
- Any part replaced, with the type and brand (for example, “nylon rollers replaced,” or “bottom seal replaced”).
- Any symptom you saw and what you did about it, like a door that felt heavy or a squeak in the track.
- Any professional visit, what was found, and what was recommended.
The resale argument is straightforward. A buyer’s inspector will open and close the door, check the springs and the opener, and note anything that looks neglected. A log that shows the door was tuned every spring, cleaned every summer, and prepped before every freeze tells that inspector, and the buyer, that the rest of the house was probably cared for the same way. It’s a small thing to keep and a meaningful one to hand over. For a homeowner in a Lakewood neighborhood where doors take a real beating from the seasonal swing, it’s also a useful record for you, because it tells you when the last tune-up was and when the next one is due.
Common Mistakes to Avoid
- Lubricating with whatever’s handy. The solvent spray in the garage can clean a hinge but will dry out rollers and break down plastic. Buy a proper silicone or lithium lubricant and use it on the right parts.
- Greasing the tracks. Tracks should be clean and dry, not greasy. Grease collects the Front Range dust and turns into grinding paste, which is the fastest way to wear out rollers. Wipe the tracks, don’t lube them.
- Testing the balance and then ignoring the result. A door that won’t hold halfway when you lift it is telling you the springs are tired. Forcing it to run just loads the opener and the cables.
- Skipping the force check on the opener. It’s the cheapest maintenance on the list and the one that protects the most expensive component. Ten minutes once a year is a small price for a longer-lived motor.
- Replacing one roller at a time. Rollers wear as a set. Changing one mismatched roller leaves the others to take up the slack, and the track suffers. Replace them together.
- Letting the bottom seal go through a winter. A stiff, cracked seal lets water in and freezes against the threshold. Replace it in the fall, before Lakewood’s first hard freeze.
- Putting hands near a spring or cable. These parts are under high tension and are genuinely dangerous. Inspect from a safe distance. A broken spring or a frayed cable is a call to a technician, never a do-it-yourself job.
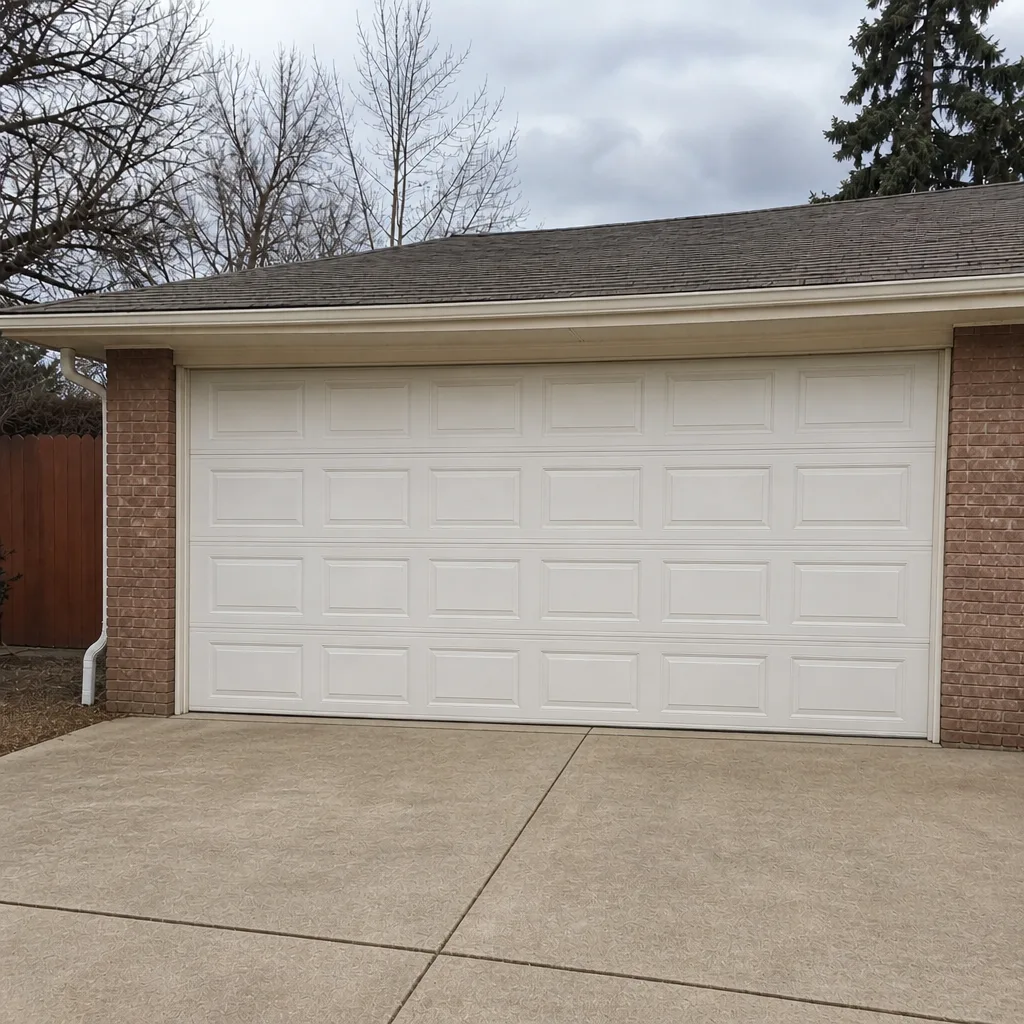
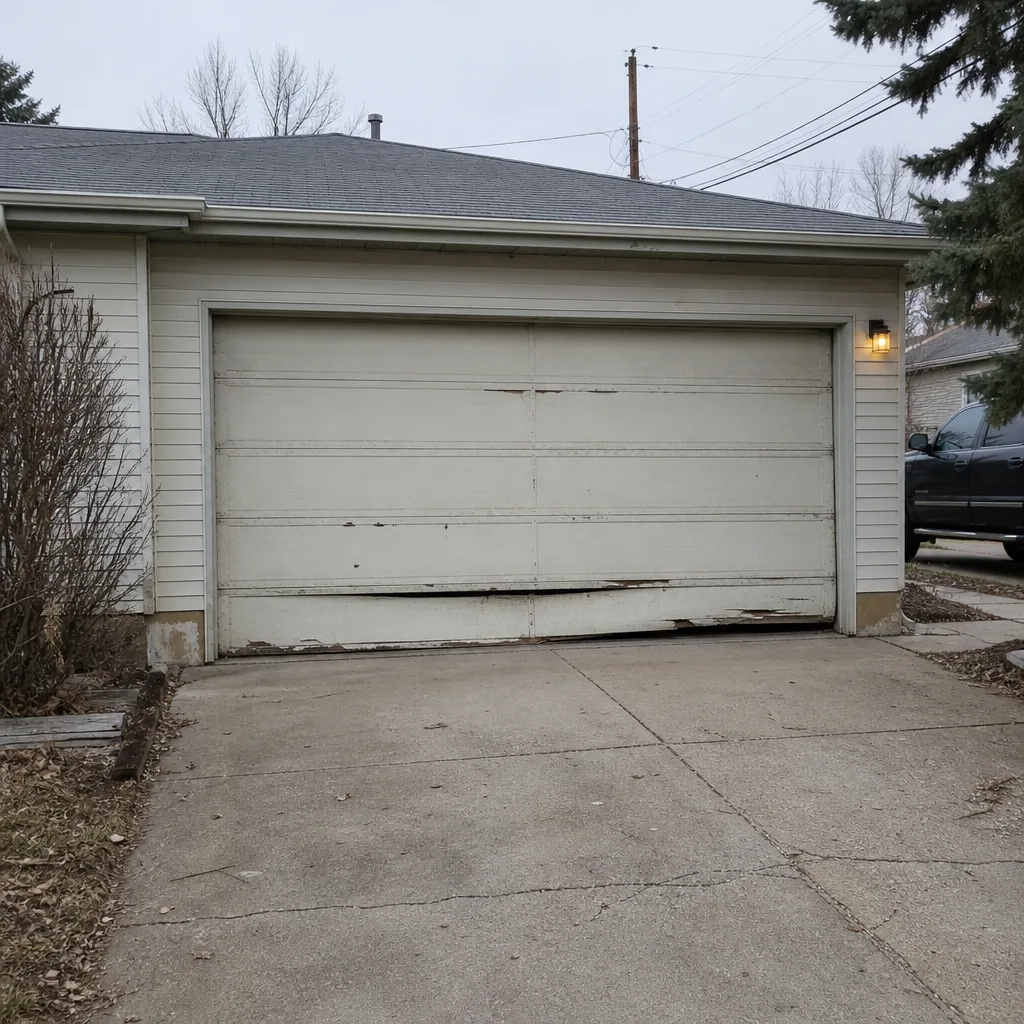
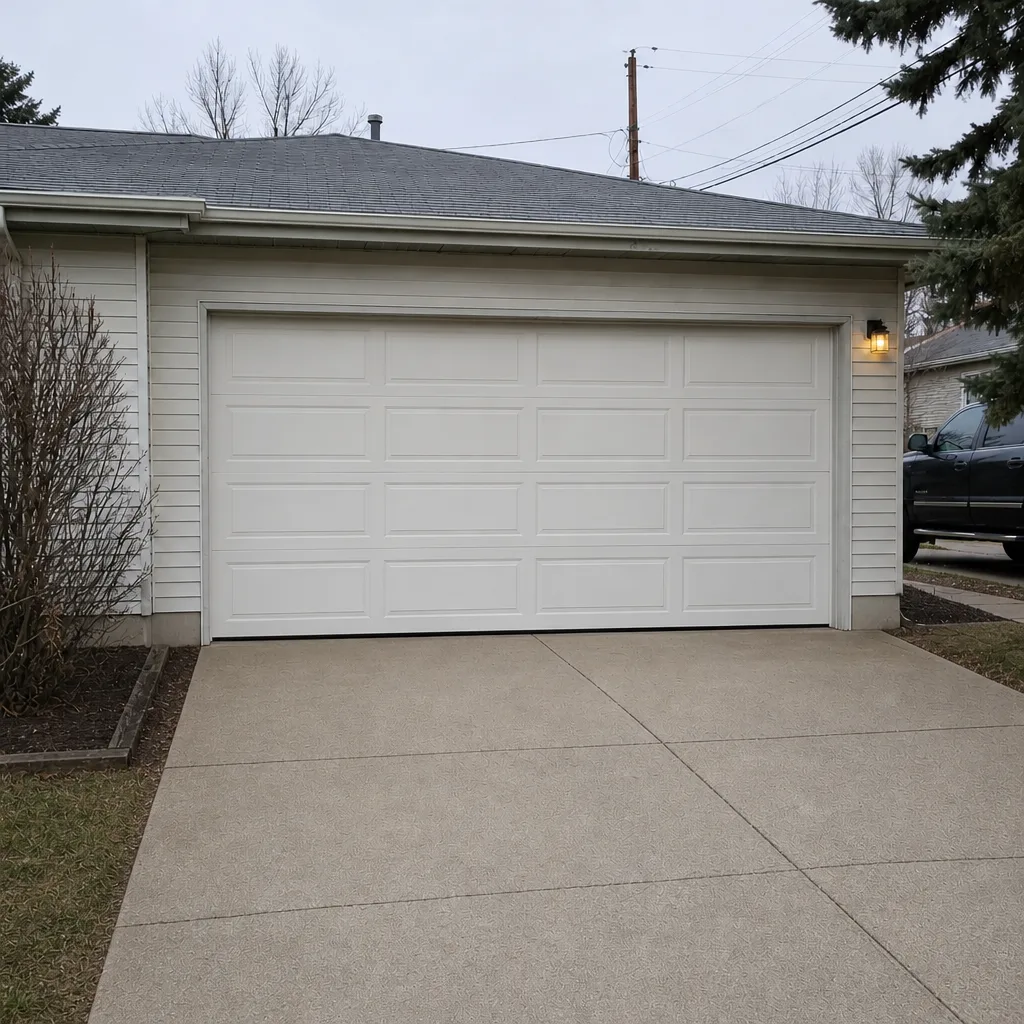
See the difference
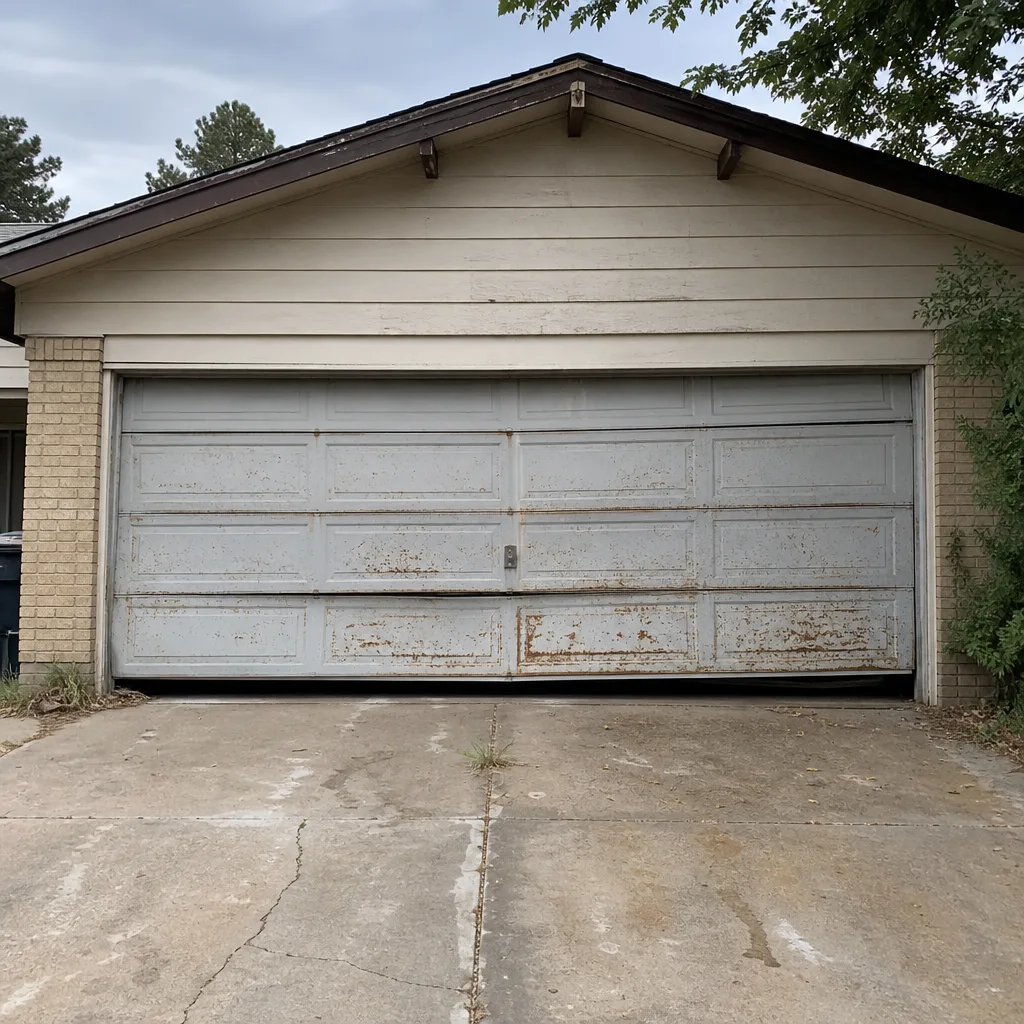 Before
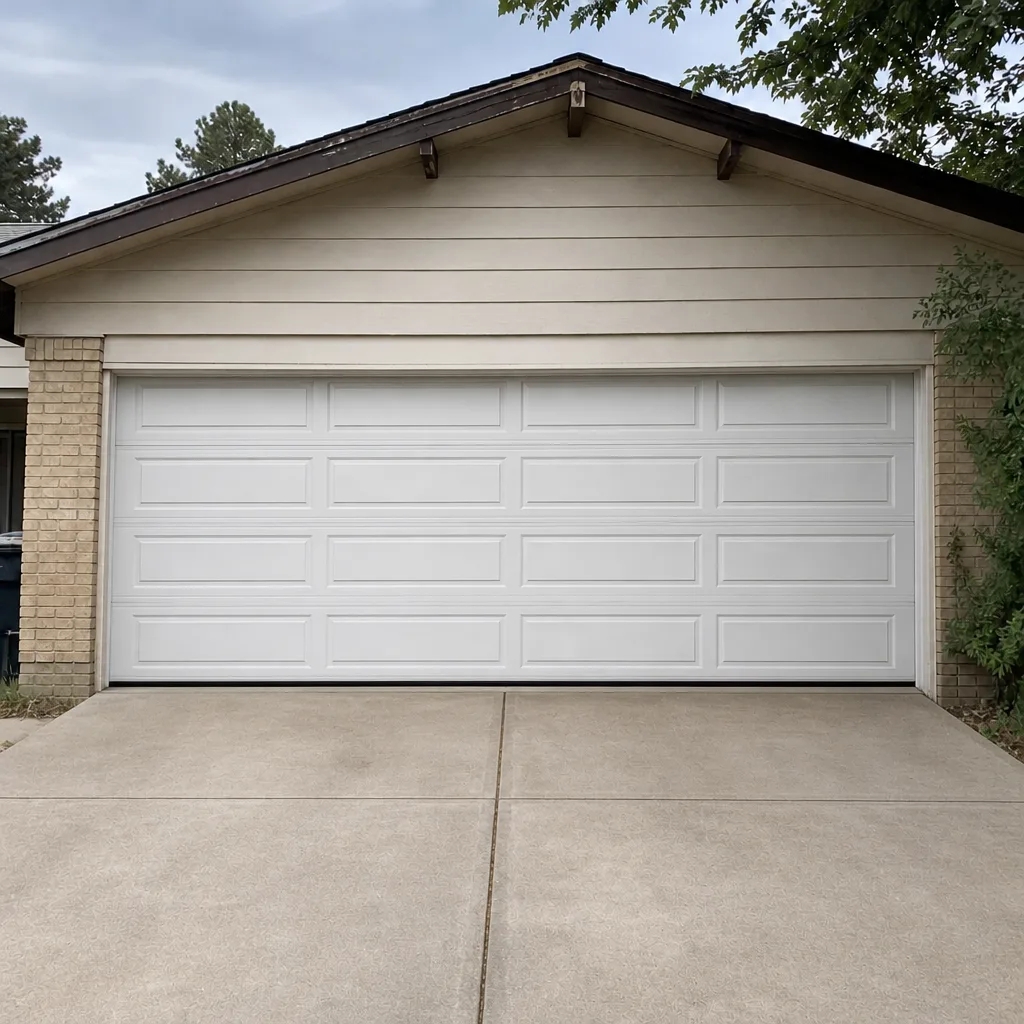 After
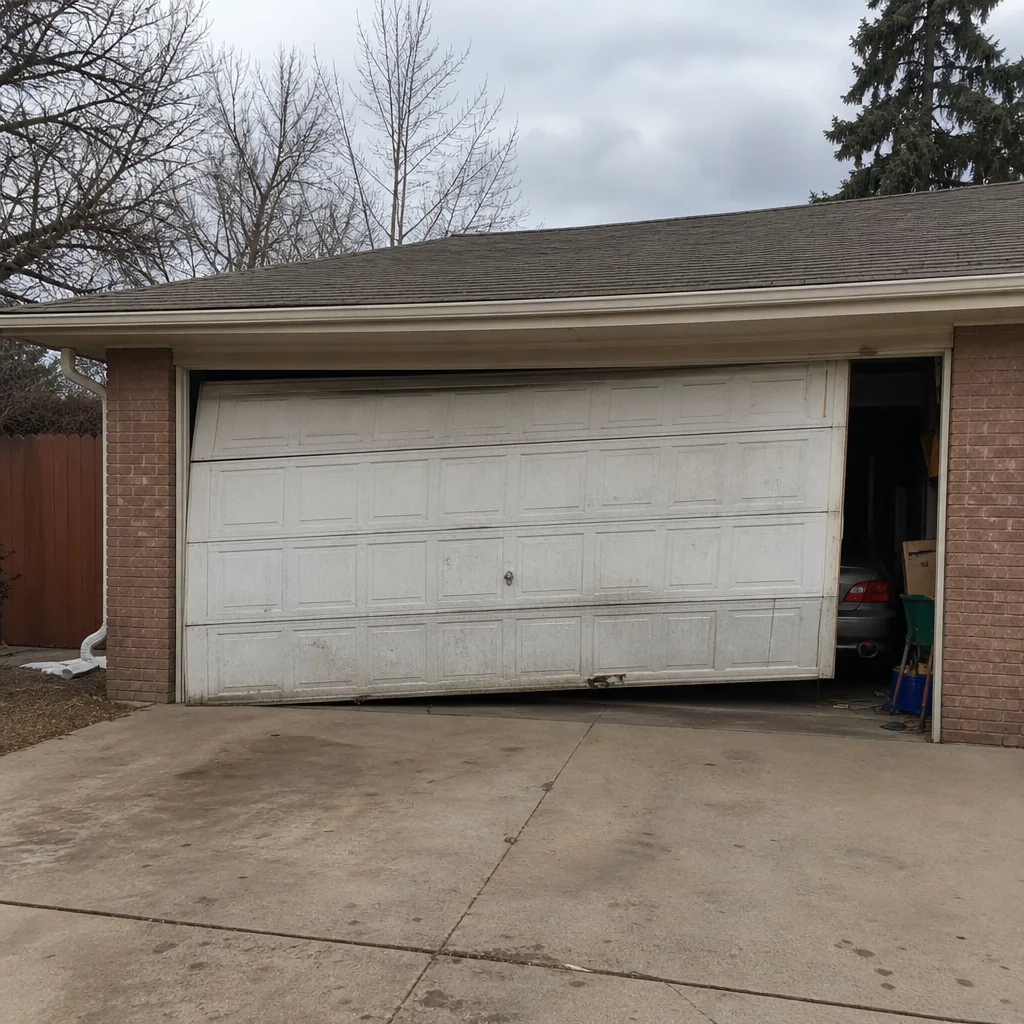 Before
 After
 Before
 After
When to Call a Professional
Some tasks on this list are safe to do yourself, and a few aren’t. Call a professional for anything involving a spring or cable, for a door that comes down fast or feels suddenly heavy, for a door that’s off its track or won’t close evenly, and for any opener problem you can’t resolve from the manual. High-tension springs and cables store enormous force, and a trained technician is the right person to handle them. Our technicians have up to 12 years of experience and are certified to work on eight major brands, including LiftMaster, Chamberlain, Genie, Clopay, Amarr, Wayne Dalton, Craftsman, and Raynor, so the work isn’t limited by what’s on your door. If a repair or an adjustment is beyond the schedule, Linden Garage Door Repair offers free estimates around Lakewood. Call (855) 554-3769. We answer 24/7. Fast dispatch from 7am to 7pm, Sunday through Friday.
Frequently Asked Questions
A garage door should get a full tune-up once a year and a lighter dust-and-lubricant check mid-summer, with a first-freeze prep in the fall. That’s built around Lakewood’s freeze-thaw cycle and the dry, windy summer stretch, which together work a door harder than a mild climate does. If you use the door heavily or have an older door, a second inspection in the spring is worth it.
The annual opener force sensitivity check is the most important single task, because it’s cheap, quick, and protects the most expensive component. It takes under 10 minutes and it keeps the motor from straining against a door that’s gotten harder to move. Call (855) 554-3769 if you’d rather leave the adjustment to a technician; estimates are free.
No. WD-40 and similar solvent sprays are cleaners and penetrants, not lubricants, and repeated use dries out rollers and breaks down plastic components. Use a purpose-made silicone or lithium lubricant instead. If your door is squeaking after a solvent spray, that’s a sign parts are dry, and it’s worth having a look before the wear spreads. Call (855) 554-3769 for a free estimate.
A gap in a coil spring, a door that won’t hold halfway when lifted, frayed cables, or a cable that’s jumped its drum all mean the part needs a technician. Don’t touch springs or cables yourself. They’re under high tension, and the risk is real. Call (855) 554-3769 and we’ll take a look.
Yes. A documented service history tells a buyer and an inspector that the garage door was cared for, and inspectors notice neglected doors. Keep a simple log of dates, tasks, and any parts replaced, and hand it over at closing. Call (855) 554-3769 if you want the record brought up to date with a professional tune-up first.
They do. The freeze-thaw cycle loosens fasteners and works on rubber seals from fall through spring, and the dry summer wind drives grit into the tracks and hinges. That’s why the schedule here lines up lubrication and seal checks with the seasons instead of following a generic twice-a-year rule. Call (855) 554-3769 for a free estimate if you’re not sure where your door stands.
The Bottom Line
Your garage door doesn’t need constant attention. It needs the right attention at four points in the year, tuned to what it actually goes through in Lakewood: a spring tune-up, a summer dust inspection, a fall first-freeze prep, and a winter ice check. Use silicone and lithium lubricants, keep solvent sprays and heavy grease off the moving parts, and read the wear indicators on springs, cables, and rollers so parts get replaced on your schedule, not after a failure. The annual force check on your opener is the cheapest, smartest task on the list, and your maintenance log is a simple habit that pays off at resale. When a task involves a spring, a cable, or an opener you can’t sort out, call a professional. Linden Garage Door Repair handles repair, opener service, and installation on all eight major brands, so one call reaches the right technician. Call (855) 554-3769 for a free estimate. We answer 24/7. Fast dispatch from 7am to 7pm, Sunday through Friday. The price is quoted and agreed before any work starts.
Written by the team at Linden Garage Door Repair.