
Last updated November 15, 2026
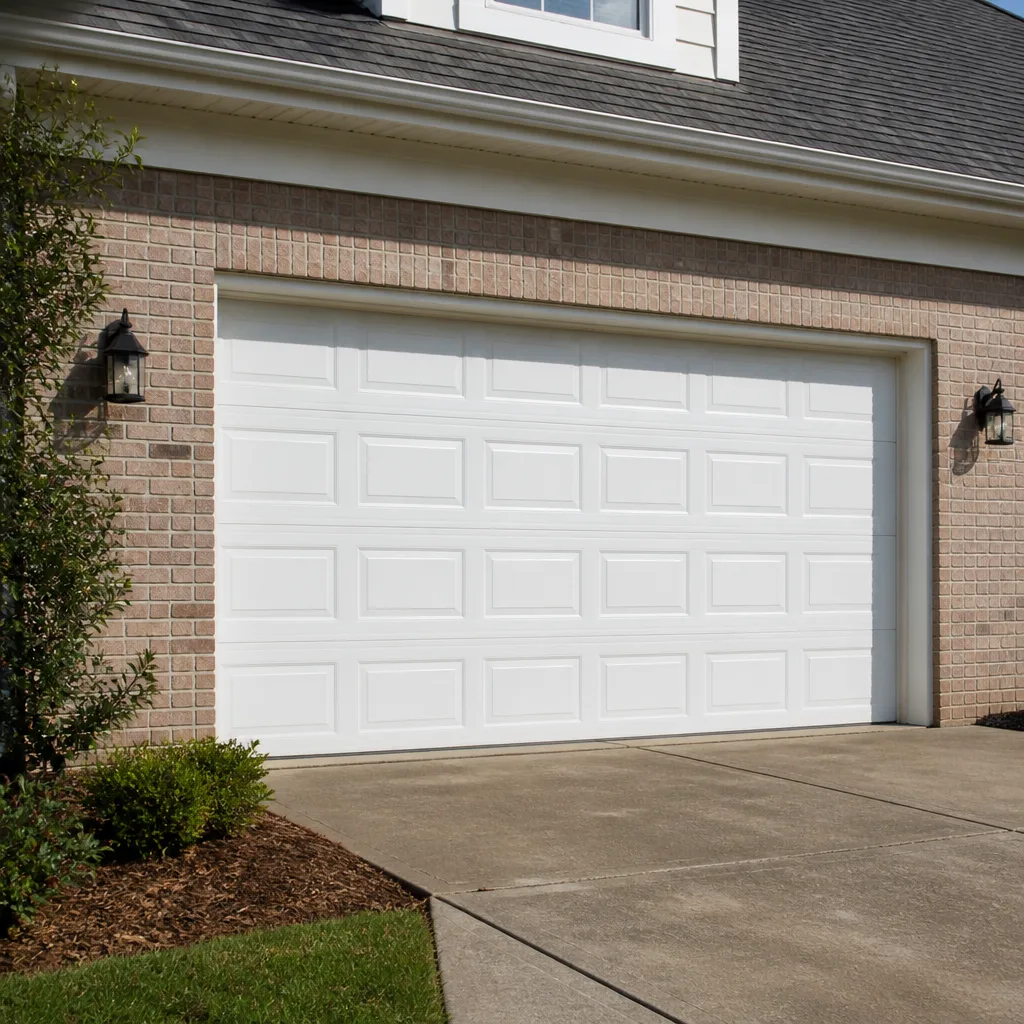 Raised-panel steel
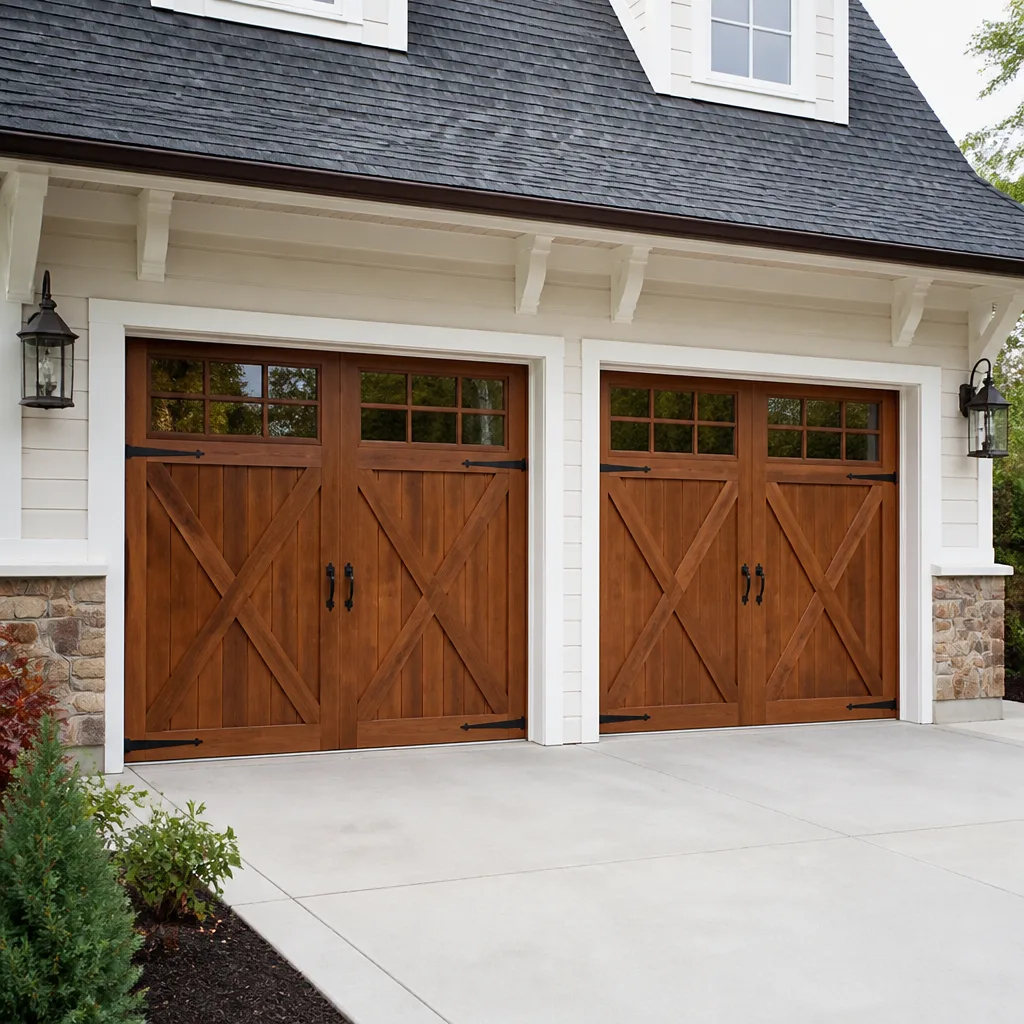 Carriage house
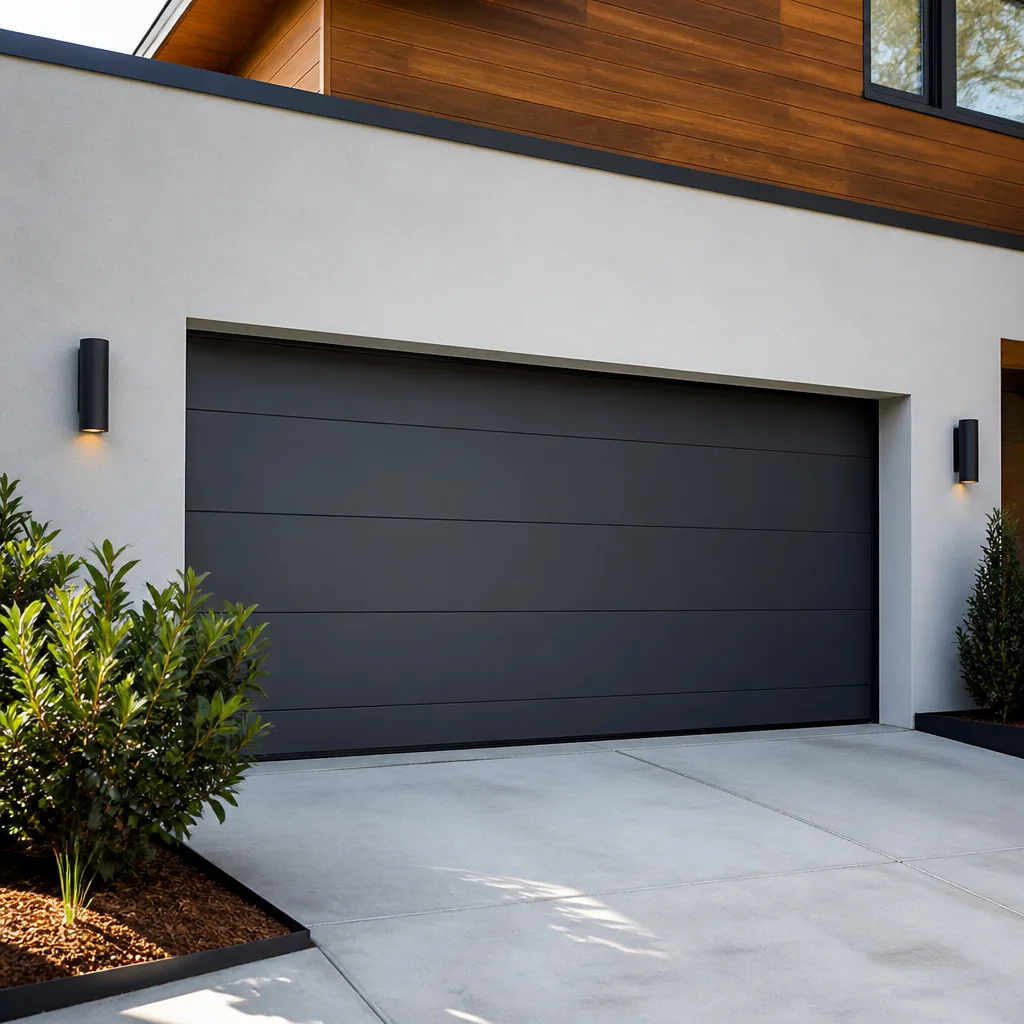 Modern flush
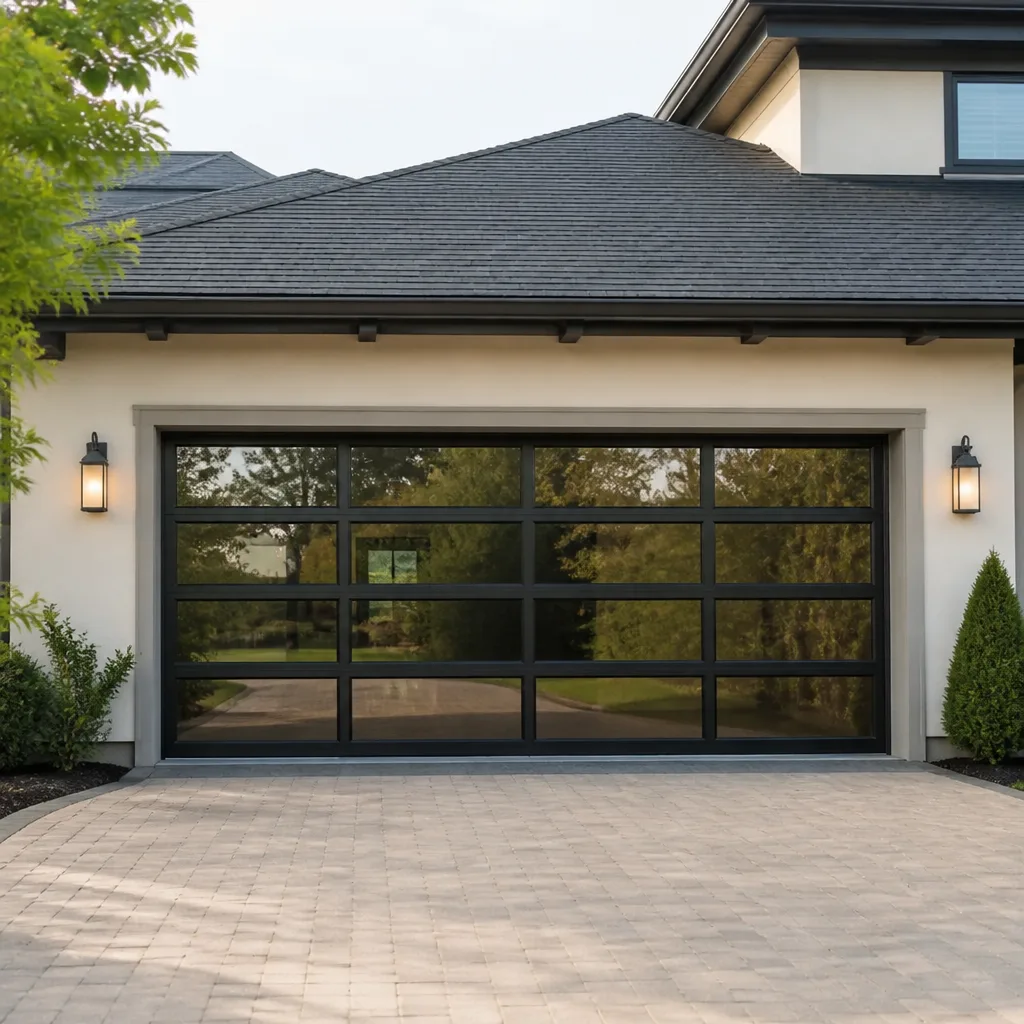 Full-view glass
 LiftMaster openers
 Chamberlain openers
Full 25-point door and opener safety check with every visit - springs, cables, rollers, tracks, and your LiftMaster or Chamberlain opener included
You get a price before we start. It does not change when the pro arrives.
Get your free estimateGarage Door Warning Signs: A Lakewood Homeowner’s Reference Guide
Most garage door warning-sign guides tell you what a problem looks like. They almost never tell you what to do about it. That gap matters more than any list of symptoms, because two doors can show the same grinding noise on the same Tuesday, and one needs a technician in the next two weeks while the other needs to stay shut until someone qualified looks at it. So we built this guide around a single question for every symptom: is this a monitor-it problem, a schedule-service problem, or a stop-using-the-door-today problem? A door that reverses unexpectedly isn’t a quirk you learn to live with. It’s the safety reversal system fighting a mechanical problem, and overriding it by hand can end with the door coming down hard. Here’s how to read what your Lakewood door is actually telling you.
Quick Answer
Garage door warning signs fall into three severity tiers: monitor it (cosmetic wear, minor squeaks), schedule service within two weeks (grinding, uneven travel, slow openers, visible cable wear), and stop using the door today (broken springs, snapped cables, a door that reverses or won’t stay up). If you see or hear anything in that third tier, keep the door closed, unplug the opener, and call a professional before cycling it again.
Styles & brands we work with
- Raised-panel steel
- Carriage house
- Modern flush
- Full-view glass
- LiftMaster openers
- Chamberlain openers
Table of Contents
- The Three-Tier Severity System: How to Read Any Warning Sign
- Sounds Decoded: Grinding, Squealing, Popping, and Rattling
- Visual Cues: Rust Patterns and Cable Fraying in Colorado Conditions
- Opener Behavior as a Diagnostic Tool
- The 60-Second Self-Test: Spring Balance, Sensors, and Auto-Reverse
- Doors That Won’t Stay Up: What a Balance Failure Means
- For Landlords and Property Managers: Reading Doors Across Multiple Units
- Common Mistakes to Avoid
The Three-Tier Severity System: How to Read Any Warning Sign
Every warning sign on your garage door belongs to one of three tiers. That’s the organizing principle here, and it’s the one thing to remember if you skip the rest of the guide. The tier tells you what to do, and in most cases the tier matters more than the symptom itself.
Monitor It
- Light surface rust on hinges or bottom brackets that you can wipe off
- A faint squeak that shows up in cold weather and disappears once the door warms up
- Slightly dark seal at the bottom edge, still flexible to the touch
- A single loose bolt you can snug up with a wrench
These are the aging-door sounds, and every door makes some of them eventually. What you’re watching for is progression. A squeak that stays a squeak for a year is different from a squeak that turns into a squeal in a month.
Schedule Service Within Two Weeks
- Grinding or scraping that happens on every cycle, not just once
- Cables with visible fraying, kinks, or strands poking out
- An opener that has slowed noticeably or reverses partway up and then tries again
- A door that drifts down an inch or two after you open it
- Rollers that have flattened, cracked, or started rattling in the track
This tier doesn’t require you to drop everything, but it does require you to book something. Cables and springs that are already showing wear fail without much warning, and a scheduled repair in Lakewood is far less stressful than a door stuck open on a cold evening with the car parked outside. A dedicated garage door opener repair visit, for instance, catches a motor that’s burning itself out one slow cycle at a time.
Stop Using the Door Today
- A spring that has visibly snapped or separated
- A cable that has broken completely or come off its drum
- A door that comes down on its own weight when you let go of it halfway up
- A door that reverses randomly, once, without touching anything
- Bent or buckled track sections
- Any door that has come out of its track or is hanging off one side
This is a hard stop. Do not prop the door up with a broomstick. Do not open it manually “just this once” to get the car out. Springs and cables store enormous force, and a door with a broken spring or a snapped cable is no longer balanced – the weight is doing whatever it wants. Call a technician, and keep the opener unplugged until one arrives.
Most Lakewood homeowners who call about a broken spring know something’s wrong the moment they hear it – the sharp bang from overnight is hard to miss. The calls we get about the smaller symptoms often come weeks after the first sign, which is fine for the middle tier but too late for the top one.
Sounds Decoded: Grinding, Squealing, Popping, and Rattling
Your door’s noises narrow down the component faster than any visual inspection, because each sound comes from a specific part under stress. Four sounds are worth knowing well, and they each point somewhere different.
Grinding
Grinding is metal-on-metal, and on a garage door it almost always means the rollers or the torsion hardware. Worn steel rollers that have lost their bearing surface grind against the track. A torsion cable rubbing the wrong way near the drum will grind too, and that’s the version you don’t ignore, because cable wear is a stop-using-the-door problem if it’s severe. If you can hear grinding from inside the house, schedule service within two weeks and have the rollers and cables inspected together.
Squealing
Squealing is typically the rollers or the hinges, and it’s the most likely sound to be solved with proper lubrication and adjustment. Springs that have started to fatigue can also squeal as the coils slide against each other. Squealing is usually a monitor-it or schedule-service sound, but a squeal that shows up suddenly after years of quiet is worth having checked, because it can indicate a spring that’s about to fail.
Popping
A sharp pop is the sound of a torsion spring slipping in its anchor or a cable jumping its drum. It’s the pop that often shows up just before a spring fails completely, so treat popping as a schedule-service-now sound. If you hear a pop and the door still works, unplug the opener and call before you cycle it again.
Rattling
Rattling is fasteners and panels – loose hinge screws, a panel bolt backing out, a roller bracket loosened by vibration. It’s usually the most manageable sound on the list. A visual check alongside the door with a screwdriver handles most of it, but if the rattle keeps coming back, the underlying vibration is worth diagnosing properly.
One pattern worth noting that’s specific to our climate: dry air in a Colorado winter can make hinges and rollers sound louder than they actually are, because the metal has less of the film that keeps things quiet. A door that rattles in January and quiets down in March is often a lubrication matter. A door that gets louder in summer, on the other hand, is usually mechanical.
Visual Cues: Rust Patterns and Cable Fraying in Colorado Conditions
Two visual signals do most of the diagnostic work: rust pattern and cable condition. Both read differently in Lakewood’s climate than they would in a wetter part of the country, so a couple of local notes are worth adding before we get to the list.
Reading Rust Patterns
Rust tells you where moisture is collecting, and not all rust means the same thing. Here’s how to tell the two patterns apart.
- Rust on the inside face of hinges and brackets, spreading outward: this is condensation rust. It happens when warm daytime air meets cold metal in the morning and beads up overnight. The pattern shows you where moisture sits. Clean it, lubricate, and check again in a month – if the rust returns quickly, a ventilation or drainage issue is keeping the garage damp.
- Rust concentrated at the bottom panel edge and bottom brackets, with a chalky or textured finish: this is age and road exposure. Snow melt and road grime tracked in on the tires splash against the bottom edge, and the door wears it first. Slow, cosmetic, and mostly a paint-and-seal issue on a steel door from manufacturers like Amarr or Wayne Dalton.
- Pitting rust on the torsion tube or springs: less common, but worth having a technician look at, because pitted torsion hardware can develop stress points.
Why Cables Fray Faster in Dry Air
Garage door cables are steel braid over a steel core, and they stay flexible because there’s a thin film of oil between the strands. In a dry Colorado climate, that film evaporates more quickly than it would in more humid places, and the strands start to rub against each other and each other’s sheathing. The result is fraying that shows up sooner than you might expect from a door of the same age elsewhere.
What to look for: a clean cable has a smooth, tight braid all the way along its length. A cable that’s starting to fail has one of these signs:
- Strands poking out at any point along the run
- A visible kink or sharp bend, usually near the drum or the bottom bracket
- Rust color between the strands rather than on the surface
- A “birdcage” look where the cable has pinched against itself
Any of those means the cable is on its way out. Don’t handle it beyond a visual check, since a cable under tension can whip when it lets go. Schedule service, and if the cable is already broken, treat it as a stop-using-the-door-today problem and stay off the door.
Bottom Seal and Weatherstrip
One last visual: the rubber seal at the bottom of the door. In Lakewood, a seal that’s gone stiff and cracked leads to cold air, dust, and in some months small pests finding their way in. A seal that leaves daylight visible under the door when closed is a monitor-it sign, but one that also lets water track onto the floor is worth fixing. Seals are cheap to replace as part of a regular garage door repair visit.
Opener Behavior as a Diagnostic Tool
The opener is the most underused diagnostic tool on a garage door. Most homeowners lump “opener problem” and “door problem” together, but the opener tells you a lot about what’s happening to the door itself because it responds in real time to how much resistance the door is putting up.
Slow Travel
If your door has started taking noticeably longer to open or close than it used to, the opener is usually working harder than it should. The most common cause is a door that’s lost its balance – a fatigued spring, tight hinges, or a track that’s out of alignment. The opener motor is compensating. Left alone, the motor overheats and fails, and then you have two problems instead of one.
Partial Reversal
A door that travels partway up, reverses, then travels a little more, then reverses again is fighting resistance. The most likely culprits are a binding track, a door out of balance, or a safety sensor misaligned just enough to trigger intermittently. This is a schedule-service sign, especially if it’s happening on every cycle.
Intermittent Response
An opener that responds to the remote nine times out of ten, or that works from inside the car but not from outside, is often a remote or receiver issue rather than a door problem. Change the remote battery first, then a different remote, then the wall button. If the wall button works but nothing else does, the receiver is suspect. If nothing works reliably, the opener’s logic board is more likely, and that’s worth a dedicated diagnosis rather than trial and error.
Random Reversal
A door that reverses with nothing in its path, no obstruction, and no one touching the remote is a stop-using-the-door-today sign. The safety reversal system is being triggered by something – a sensor knocked slightly out of alignment, a mechanical bind the door is interpreting as an obstruction, or a failing logic board. Do not disconnect the sensors to “see if that fixes it.” That disables the one safety feature that keeps the door from coming down on a child, a pet, or a car. Call a professional.
Why We Separate Opener From Door
This is the reason we run garage door opener repair as its own diagnostic rather than treating the opener as an afterthought to door work. A door problem and an opener problem can present identically at the remote, and only a proper diagnostic separates them. Since we service LiftMaster, Chamberlain, Genie, and Craftsman openers alongside the major door brands, the recommendation you get is based on what’s actually failing, not on what we happen to carry.
The 60-Second Self-Test: Spring Balance, Sensors, and Auto-Reverse
You can check three of the most important systems on your door in about a minute without any tools. Do this once a season, and always do the manual parts with the door fully closed and the car out of the way.
Step 1: Spring Balance
- Close the door and disconnect the opener using the manual release cord. Pull it back gently; the door should stay in place.
- Lift the door by hand to about waist height and let go.
- A balanced door stays where you put it, or drifts only slightly. A door that slides back down on its own, or shoots up, is out of balance and the springs are the likely reason.
- Reconnect the opener before you cycle the door again.
If the door is out of balance, schedule service within two weeks rather than opening it every day and hoping. A door that’s fighting its opener will eventually win, and the opener is the more expensive part to replace.
Step 2: Sensor Alignment
- Look at the two safety sensors on either side of the opening, usually about six inches off the floor.
- Each one should have a small indicator light that stays lit and steady. A fast blink or an unlit sensor means the pair isn’t communicating.
- Wipe any dust or cobwebs off the lenses – in a dry Lakewood garage, dust settles on the sensor face and can trigger intermittent reversal.
- If one is blinking, gently nudge it back into alignment with the other and recheck the light.
If nudging doesn’t fix it, don’t keep adjusting. A sensor that won’t align usually has a wiring or logic issue that needs a real diagnostic.
Step 3: Auto-Reverse
- Open the door fully, then close it and watch the bottom edge as it descends.
- Use a rolled-up newspaper or a piece of cardboard – not your hand, not a foot, not a child – and lay it flat in the middle of the opening.
- Close the door. When the bottom edge contacts the object, the door should reverse immediately.
- If the door stops but doesn’t reverse, or keeps pressing down, the safety reversal is failing. Stop using the door and call a professional.
Once a season is enough for this test. Repeat it if the door has been bumped, or after any work on the sensors or the track.
Doors That Won’t Stay Up: What a Balance Failure Means
A door that won’t stay up is one of the clearest signals in the whole guide, and it’s a stop-using-the-door-today finding. The reason is mechanical: the torsion springs (or, on some doors, extension springs) are sized to carry most of the door’s weight, so the opener only has to lift a small residual. When a spring breaks or fatigues, that balance goes away, and the door’s full weight – often several hundred pounds – ends up supported only by the opener and the track.
That’s why you’ll see one of two things when a spring fails: the door stays up because the opener is holding it, or the door comes down hard because nothing is holding it. Neither is safe to cycle repeatedly. The opener is being abused beyond its design, the cables are taking a load they weren’t sized for, and the safest move is to leave the door where it is and call.
Torsion spring and cable work is genuinely dangerous. Those components store enough force to seriously injure an experienced technician, and they’re not a homeowner repair – the parts cost less than a hospital visit by orders of magnitude, and the parts aren’t the hard part. If you remember one warning-sign rule from this guide, make it this one: a broken spring or snapped cable means an unplugged opener and a phone call, not a weekend project.
On a Matched Pair
Most torsion doors run a matched pair of springs. When one breaks, the other is usually at the same stage of its life and will typically fail soon after. Replacing both at once is standard practice for technicians, because it saves you a second service call for the same job category weeks later. We’ll always tell you which is which before any work starts, and the price is set by a written estimate you approve.
In Lakewood specifically, the wide temperature swings between a cold night and a warm afternoon mean the springs cycle through more expansion and contraction than in a milder climate. That’s one reason spring failure is such a common call in our area, and why we ask about the door’s age and cycle count when you call.
For Landlords and Property Managers: Reading Doors Across Multiple Units
If you manage a building or a set of rental units in Lakewood, the warning signs on each individual door are the same, but the decision about what to do is different. You’re tracking risk across a portfolio, not just one household’s daily routine. A few patterns worth building into your maintenance schedule:
- Treat every stop-using-the-door-today sign as a same-day call. A tenant who can’t leave for work because the door won’t open will call you, and a tenant who props a broken door up with a chair is a liability issue more than a repair issue.
- Batch the schedule-service work. If you have a building with four doors showing middle-tier symptoms, a single visit to check springs, cables, and openers on all four usually costs less than four separate calls, and catches a failing spring before it becomes a 2am problem.
- Mix the brands on your watchlist. Properties often end up with doors from Amarr, Wayne Dalton, Raynor, and others across different units. Having a technician who’s certified to work on all eight major brands – the four above plus LiftMaster, Chamberlain, Genie, and Clopay – saves you from juggling three different contractors across one building.
- Track the “comeback” symptoms. A door that’s been called on twice for the same rattle in six months has an underlying issue that hasn’t been found yet. It’s worth a proper diagnostic rather than a third adjustment.
The 60-second self-test in the previous section is worth doing once a year on every door you manage. It’s a five-minute investment across a small building, and it catches the tier-one problems before they become tier-two.
Common Mistakes to Avoid
- Overriding the auto-reverse “just this once.” The auto-reverse is the one safety feature that protects a child or a pet from a closing door. Disabling the sensors or propping the door to defeat a reversal puts the people in the house at risk, and it’s never worth the convenience.
- Lifting a door with a broken spring. A door with a snapped spring is being held by the opener or nothing. Lifting it manually loads the remaining spring and the cables with forces they weren’t sized for, and the failure mode is violent. Leave it closed and call.
- Treating a grinding door as a lubrication problem. Grease quiets a squeak. It doesn’t fix a worn roller or a fraying cable, and it can mask the problem long enough for the failure to happen at a bad moment. If the sound doesn’t fade within a few cycles of proper lubrication, schedule service.
- Ignoring the opener’s slow travel. A slow opener is telling you the door needs help. Waiting until the motor burns out turns a door repair into an opener replacement too.
- Buying a new door to fix a repair issue. Panels go out of production, and a door from a manufacturer like Raynor that’s no longer available can look like it needs replacement when a tune-up and a few replaced parts will keep it running for years. Get a repair quote first.
- Calling a different contractor for the opener than for the door. The two systems work together, and splitting the diagnosis between two contractors often means the same symptom gets investigated twice. Call one specialist who handles both.
- Assuming a door that “just rattles” is fine. Rattling is usually minor, but a persistent rattle can be a sign of a loose panel bolt or a bracket working itself free. Tighten what you can see, and if the rattle returns within a month, have it checked.
See the difference
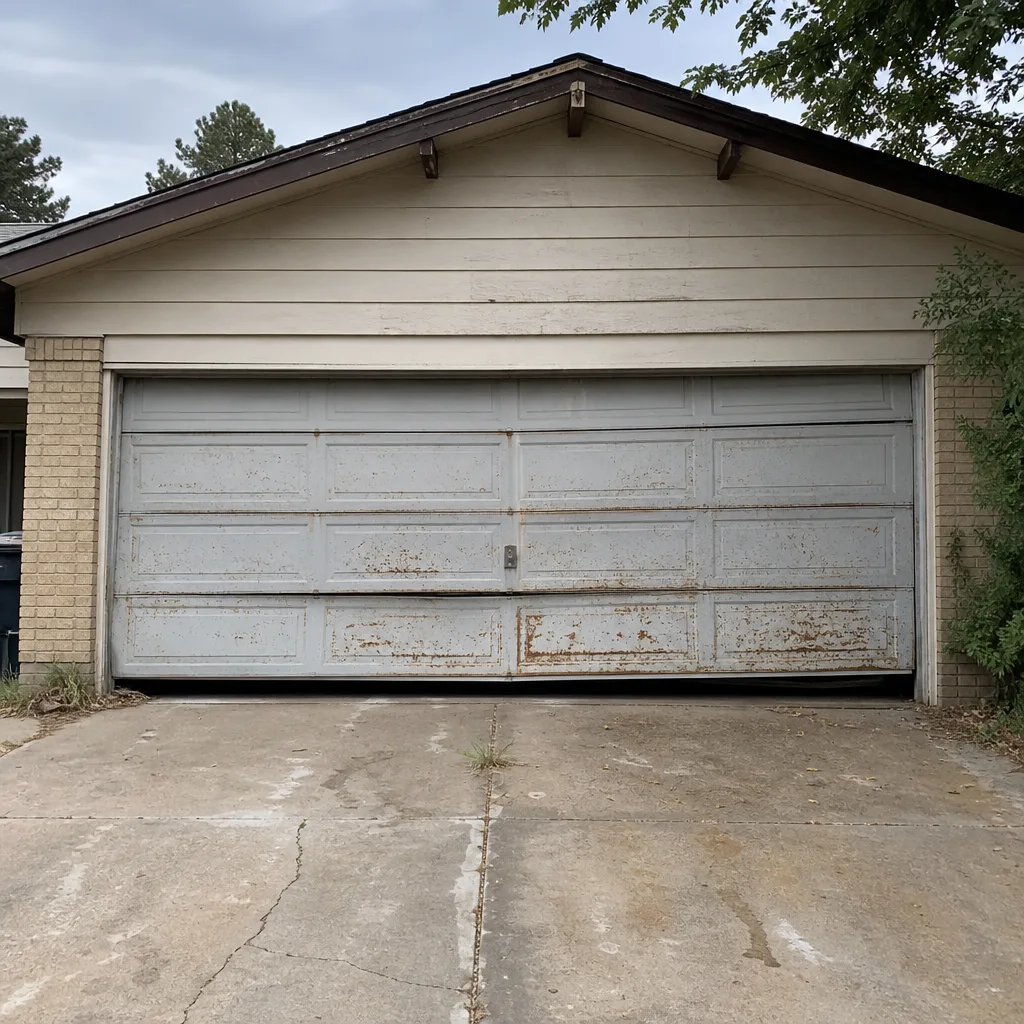 Before
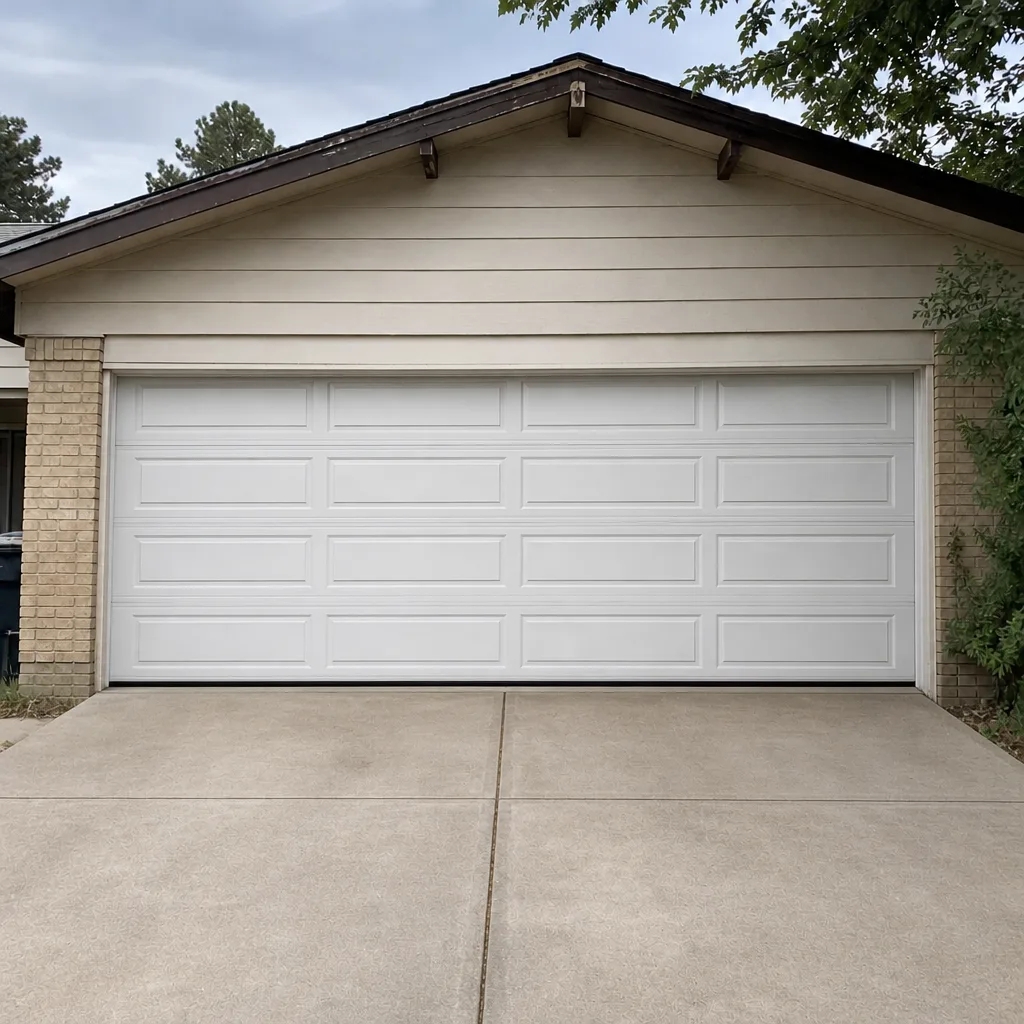 After
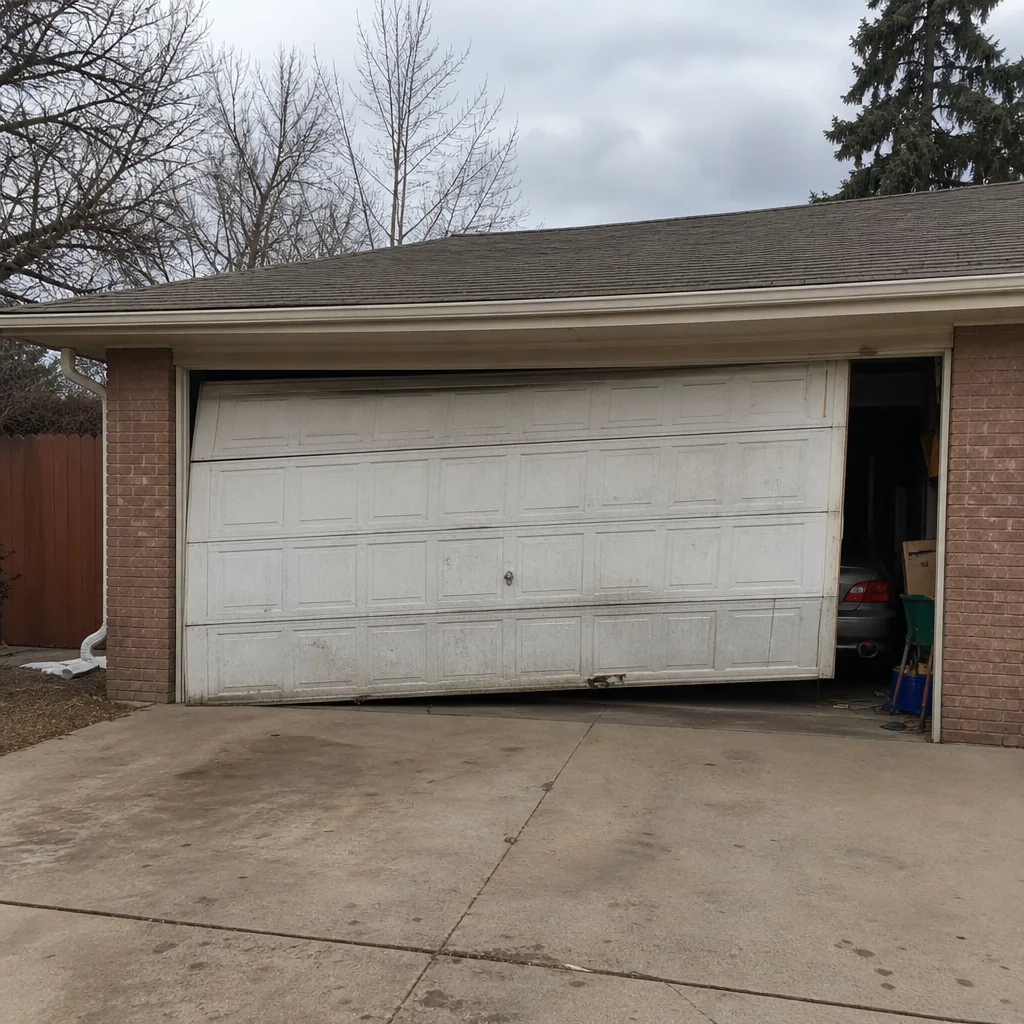 Before
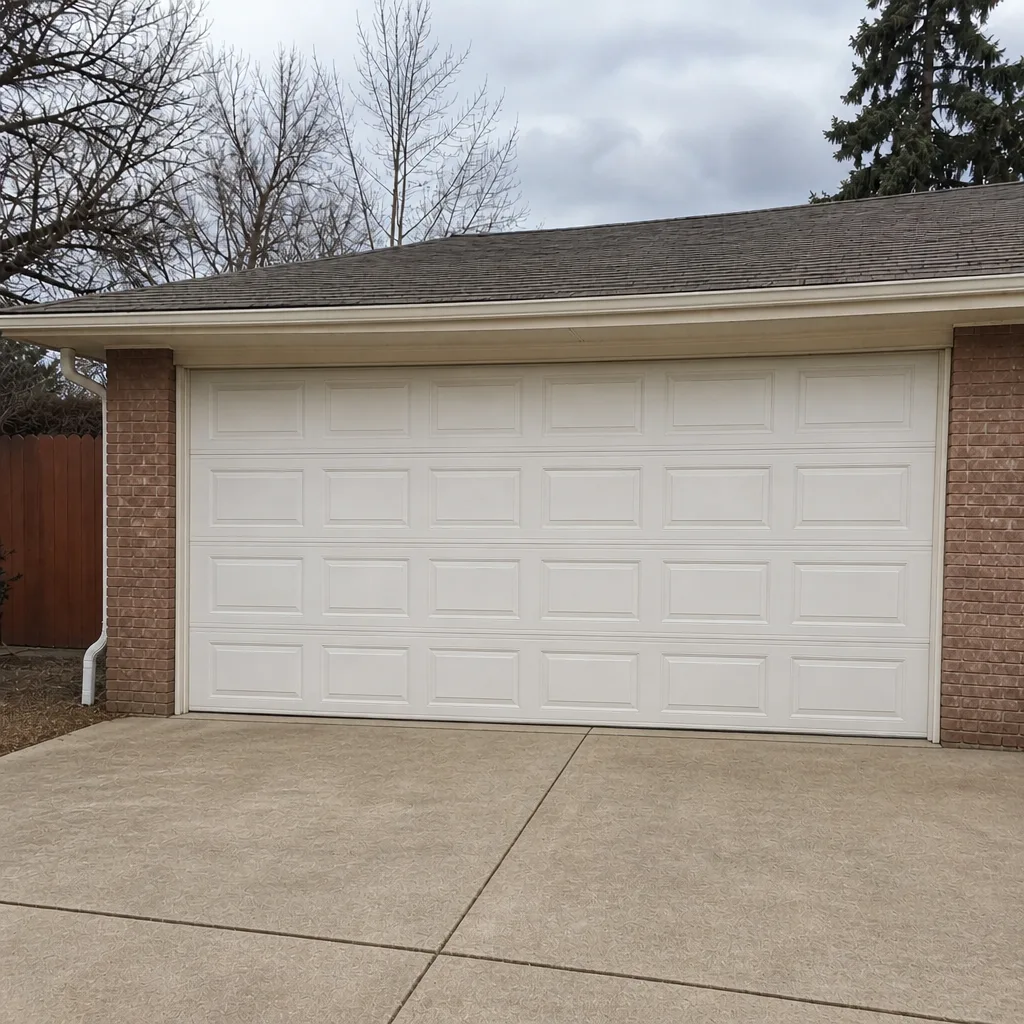 After
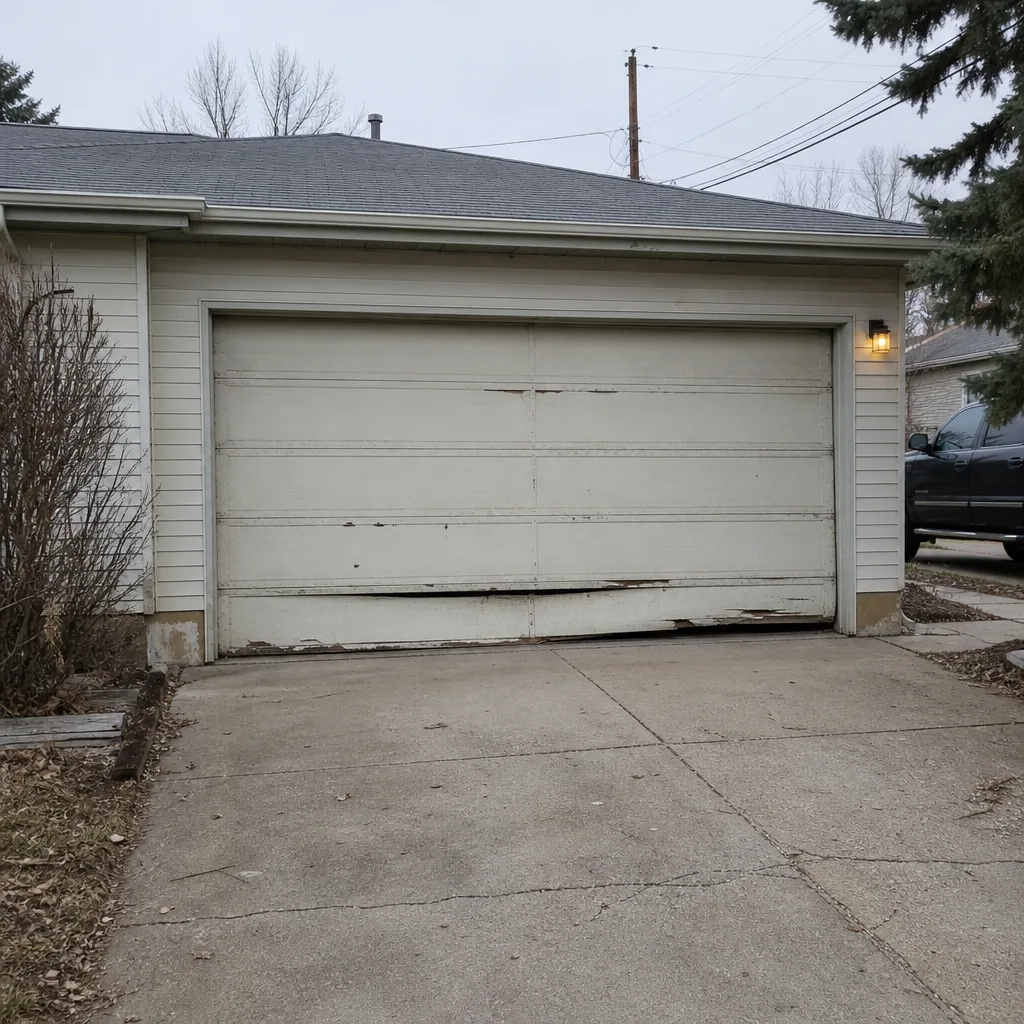 Before
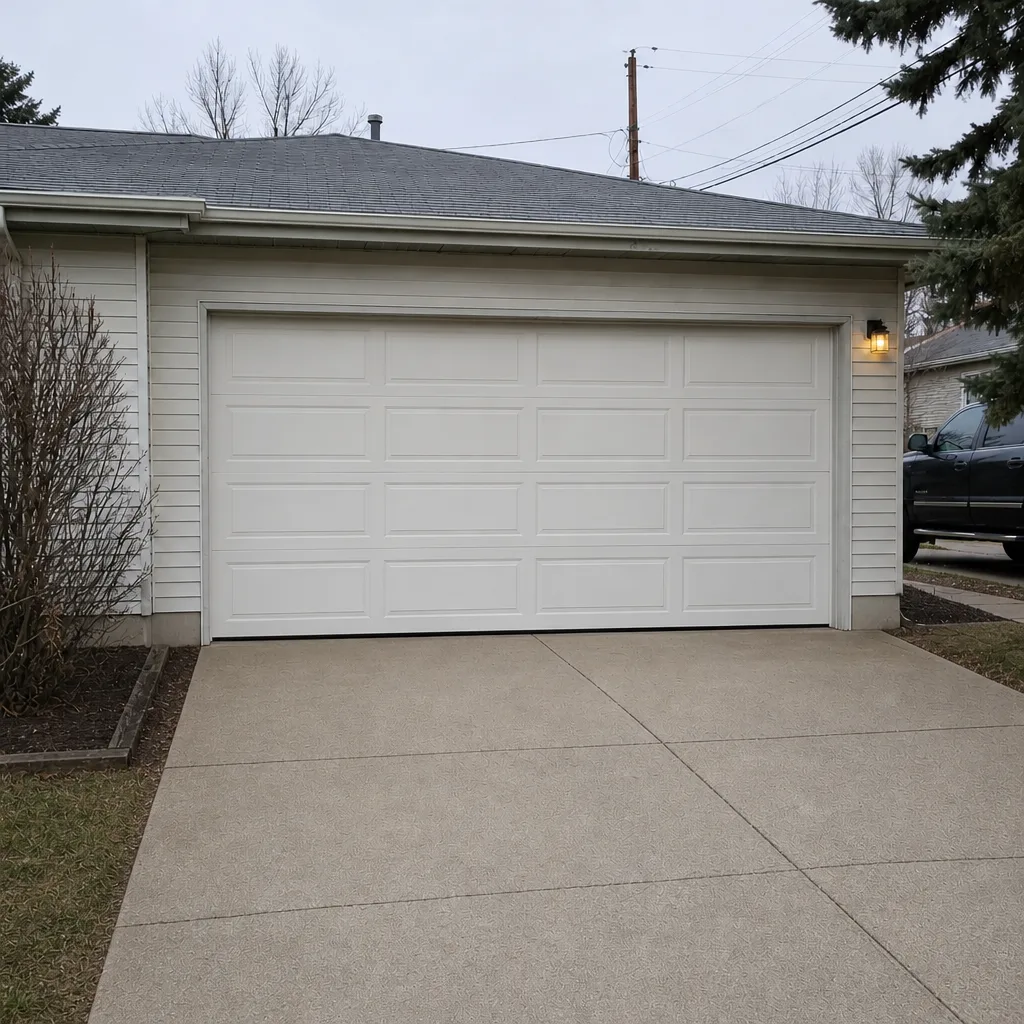 After
When to Call a Professional
Call a professional today if any of these are true: you’ve heard a loud bang from the garage, the door won’t stay up, the cables show visible fraying or a broken strand, the door reverses randomly without an obstruction, a spring has visibly snapped, the door has come off its track, or the auto-reverse test failed. Don’t override anything to “make it work for now” – the door stays closed and the opener stays unplugged until a technician has looked at it.
Schedule a call within the next two weeks if the door is grinding, slow, drifting down slightly after opening, making a popping sound on the way up, or has a rattle that will not go away.
We work on all eight major brands – LiftMaster, Chamberlain, Genie, Clopay, Amarr, Wayne Dalton, Craftsman, and Raynor – from a broken spring to a full new door, so a single call gets you the right technician. We’re Linden Garage Door Repair, and we offer free estimates in Lakewood. Call (855) 554-3769. We answer 24/7. Fast dispatch from 7am to 7pm, Sunday through Friday.
Frequently Asked Questions
A broken torsion spring or a snapped cable is the most dangerous warning sign, because the door loses most of its support and can come down with its full weight. A door that reverses randomly, once, is close behind, because it means the safety reversal system is being triggered by something other than an obstruction, and the door may not reverse when it should. In both cases, keep the door closed, unplug the opener, and call a professional. Call (855) 554-3769 for a free estimate; we answer 24/7.
No. Garage door springs store thousands of pounds of force and can snap without much warning, and the tools and technique for releasing that tension safely are trade-specific. Replacing a spring is a job for a trained technician with the right equipment, and it’s one of the few repairs where a shortcut can end with a serious injury. If your spring is broken, unplug the opener and keep the door shut. Call (855) 554-3769 and we’ll get a technician out to look at it.
A door that reverses on its own usually has a safety sensor out of alignment, a mechanical bind the opener is interpreting as an obstacle, or a logic board that’s starting to fail. In Lakewood’s dry climate, dust collecting on the sensor lenses is a common cause of intermittent reversal, so that’s worth cleaning first. If cleaning doesn’t fix it, get a diagnostic before something fails on a cold evening. Call (855) 554-3769 for an estimate.
Most garage door problems are repair problems, not replacement problems, and a failed spring, a worn roller, a frayed cable, or a struggling opener are all standard fixes. Replacement is the better call when the door’s panels are structurally failed, the frame is out of square, or repeated repairs have not solved the underlying issue. Get a repair quote first, and ask what the expected remaining life is. We install major brands including Clopay, Amarr, and Wayne Dalton, so we’re happy to compare either way. Call (855) 554-3769.
Cold, dry air makes hinges, rollers, and metal hardware drier and tighter, so the same door sounds louder in a Colorado winter than it will in summer. If proper lubrication quiets it down for a few weeks, the door is fine. If it doesn’t, a roller or hinge is worn and needs replacing. Call (855) 554-3769 if the noise doesn’t settle.
Homeowner’s insurance typically covers damage from a specific event – a tree limb, a vehicle impact, vandalism, or weather – but not wear-and-tear failures like a fatigued spring or a frayed cable. Before you file a claim, review your policy and get a repair estimate so you know what you’re actually asking to be covered. We can give you a free written estimate for the repair, and you can take that to your insurer if you decide to file. Call (855) 554-3769 to get started.
Garage doors usually run well past a decade with proper maintenance, and “too old” is less about the door’s age than its condition – hinges, rollers, springs, and seals can all be replaced. What signals replacement is more about the door’s structure: delaminated panels, a frame that’s out of square, or repeated repairs that never seem to stick. Certified work on brands like Raynor and Craftsman keeps older doors running far longer than most homeowners expect. Call (855) 554-3769 if you want a straight conversation about repair versus replacement.
The Bottom Line
Every garage door warning sign on your Lakewood door belongs to one of three tiers, and the tier is what tells you what to do: monitor it, schedule service within two weeks, or stop using the door today. Sounds, visual cues, opener behavior, and the 60-second self-test cover the whole range, and together they catch most failures before they cause a real problem. The one non-negotiable rule: broken springs and snapped cables are a phone call, not a project. If you’re in doubt, call – the estimate is free and getting a technician’s eyes on the door is always cheaper than a failure at the wrong moment.
We’re Linden Garage Door Repair, and we handle the full lifecycle – repair, opener service, and installation – on Lakewood area doors. Call (855) 554-3769 for a free estimate. We answer 24/7. Fast dispatch from 7am to 7pm, Sunday through Friday.
Written by the team at Linden Garage Door Repair.