
Last updated November 15, 2026
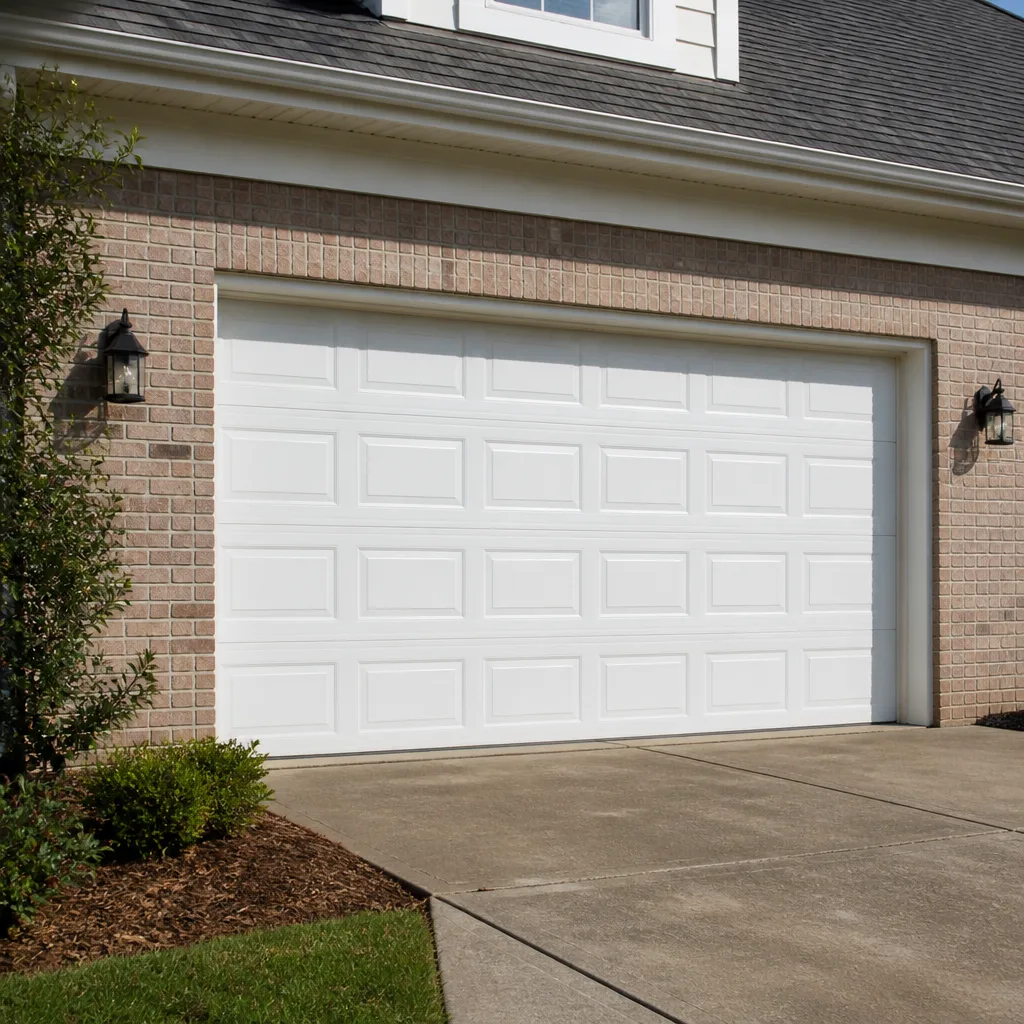 Raised-panel steel
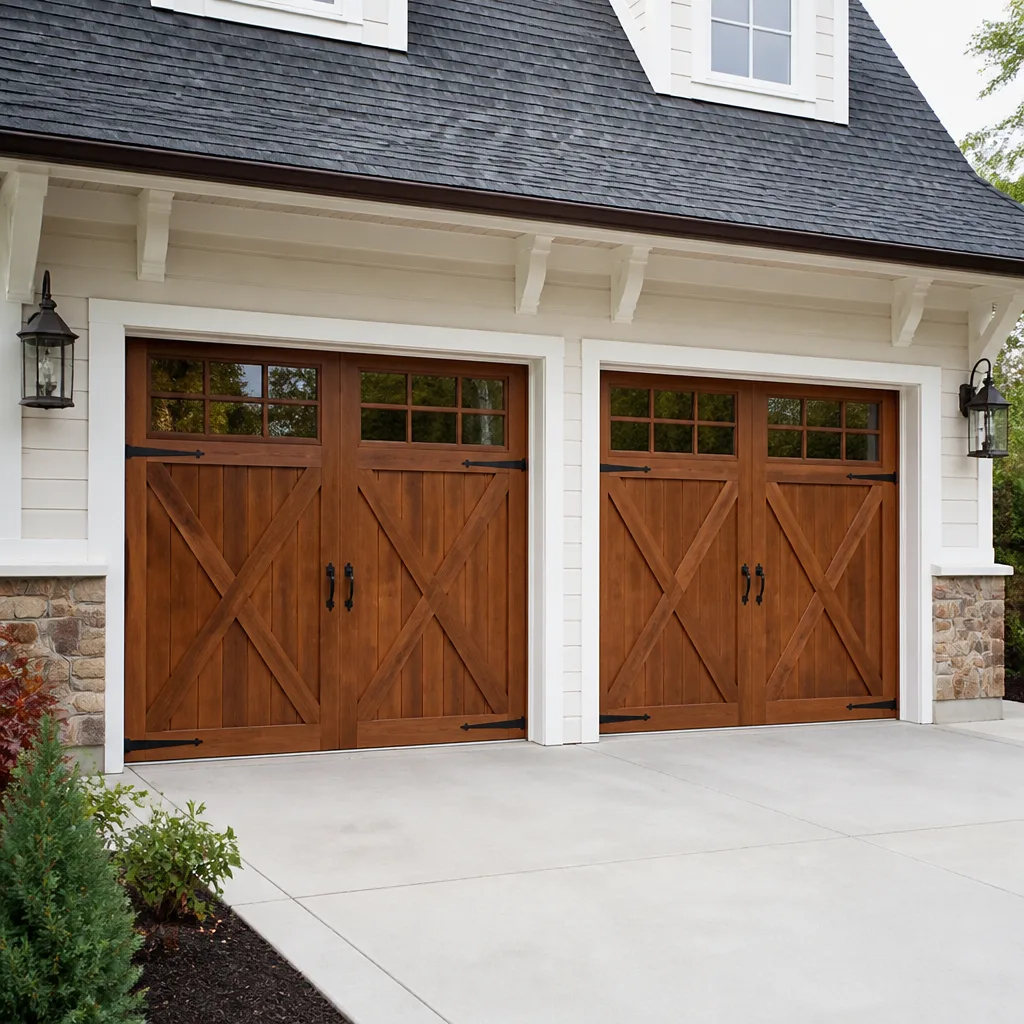 Carriage house
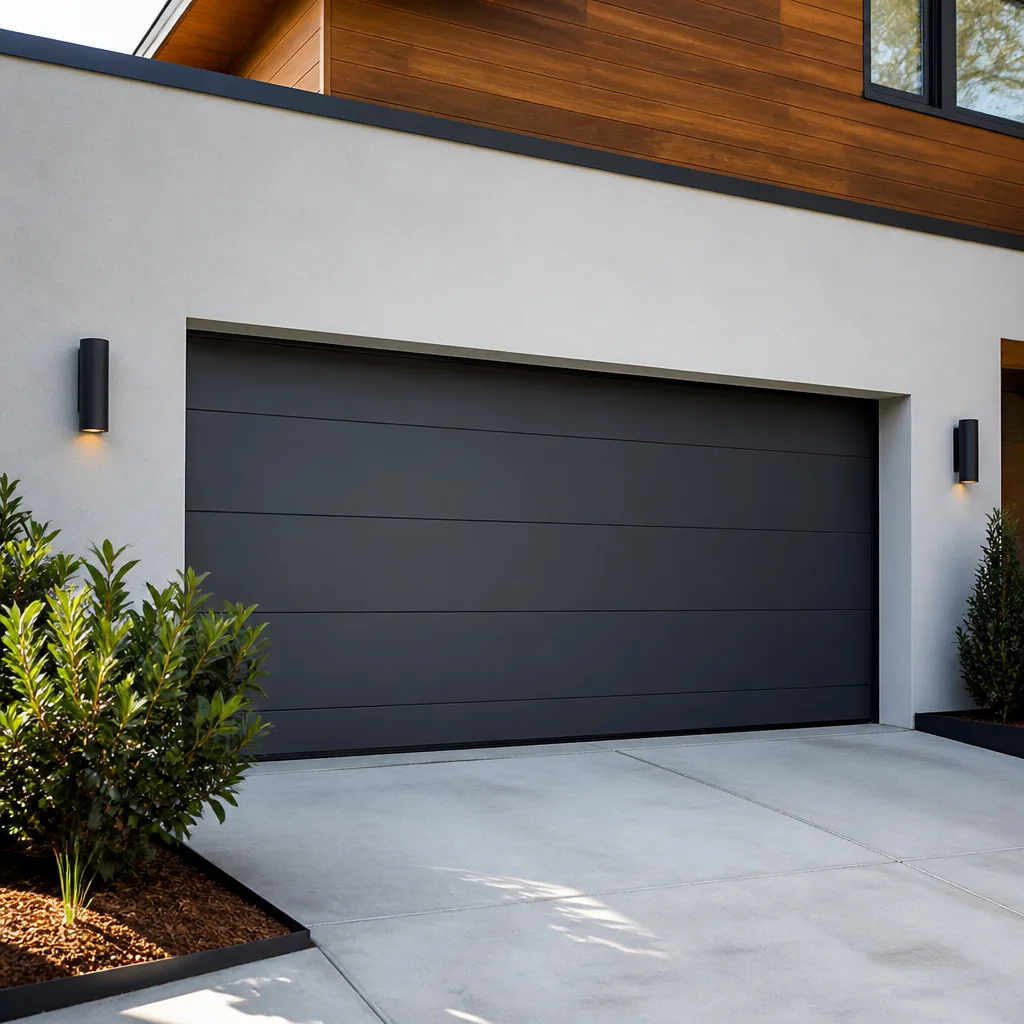 Modern flush
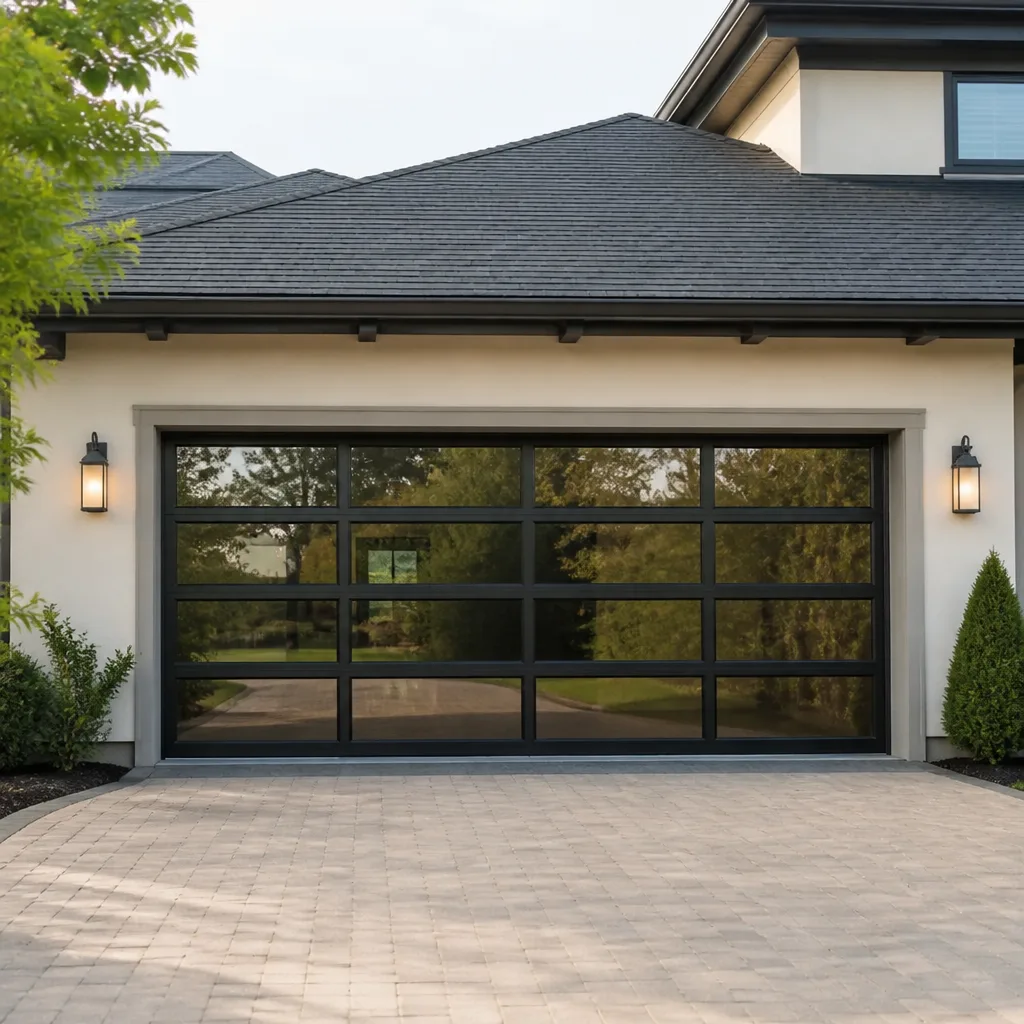 Full-view glass
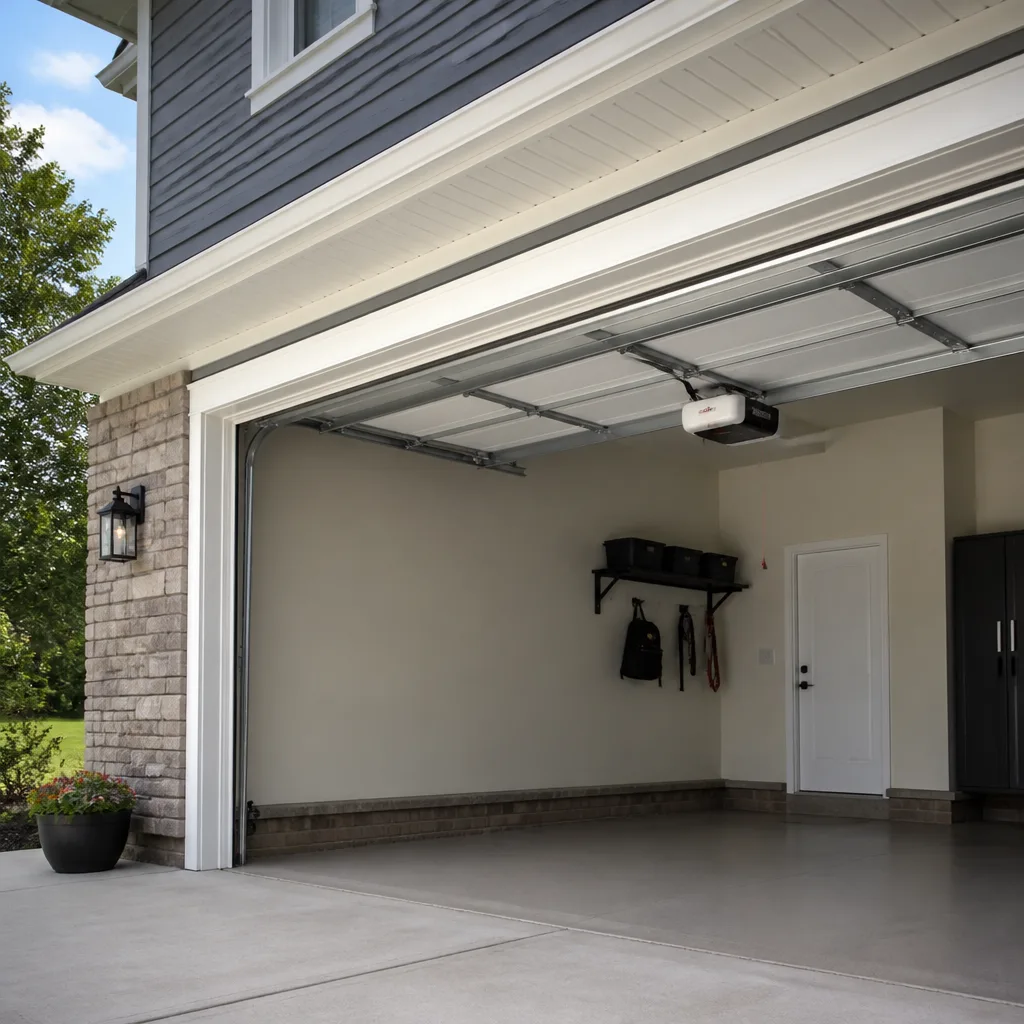 LiftMaster openers
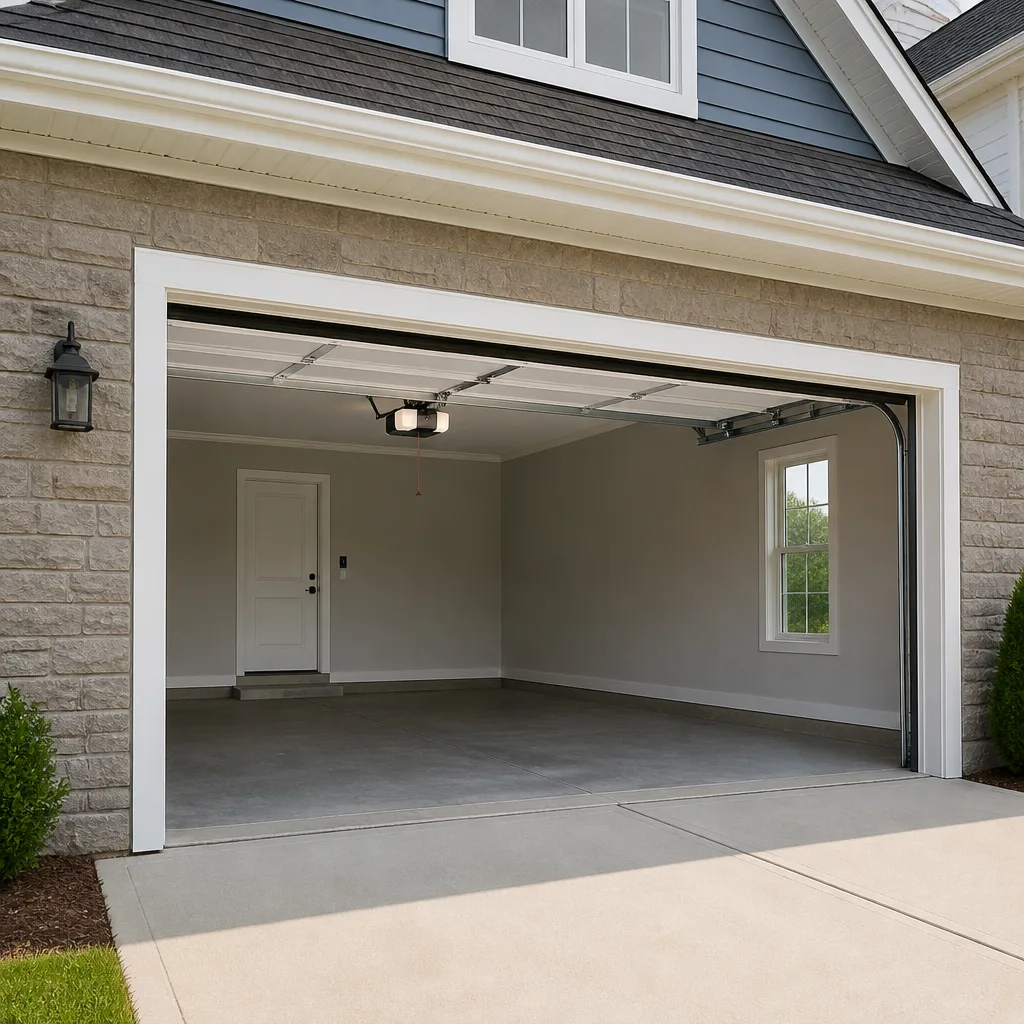 Chamberlain openers
Full 25-point door and opener safety check with every visit - springs, cables, rollers, tracks, and your LiftMaster or Chamberlain opener included
You get a price before we start. It does not change when the pro arrives.
Get your free estimateDIY vs Professional Garage Door: The Lakewood Homeowner’s Decision Guide
Garage door springs are under hundreds of pounds of torque. When a torsion spring lets go during a DIY replacement, metal travels across the garage at speed, and it’s one of the few home repair tasks where “I’ll figure it out” has genuinely sent people to the emergency room. That fact gets flattened into a single slogan by most advice columns: never touch your garage door. It’s overcautious, and it’s also not quite true. Some garage door work is genuinely safe to do yourself. Some is a coin flip. And some will hurt you. The trick is knowing which is which before you pick up a wrench. This guide sorts the tasks into three honest buckets, covers the hidden costs of DIY that close the savings gap, and explains which Lakewood homes carry extra risk.
Styles & brands we work with
- Raised-panel steel
- Carriage house
- Modern flush
- Full-view glass
- LiftMaster openers
- Chamberlain openers
Quick Answer
Most garage door tasks split cleanly into three groups: safe DIY (lubrication, visual inspection, balance checks, tightening exposed bolts), possible DIY with real prerequisites (weather seal replacement, remote and keypad reprogramming, bottom bracket swaps on some doors), and always professional (torsion and extension springs, cables, high-lift track work, opener motor replacement, new door install). In Lakewood, the calculation tilts professional more often than in newer cities because a large share of homes carry older doors, non-standard heights, and hardware from the 1980s that behaves unpredictably under tension.
Table of Contents
- The Three-Bucket Test: Which Garage Door Tasks Are Safe to DIY?
- Why Springs and Cables Are Always a Professional Job
- What Watching a YouTube Tutorial Doesn’t Cover
- The Hidden Costs of DIY That Close the Savings Gap
- Why Lakewood Homes Carry Extra DIY Risk
- The One Diagnostic Task Always Worth Doing Yourself
- Diagnosing the Opener Versus the Door
- Common Mistakes to Avoid
- When to Call a Professional
- Frequently Asked Questions
The Three-Bucket Test: Which Garage Door Tasks Are Safe to DIY?
Sort every garage door job into one of three buckets before you decide anything. The bucket depends on stored energy, weight, and how badly a mistake fails. Springs, cables, and torsion hardware store lethal energy. Panels, seals, and remotes mostly don’t. The middle bucket is where homeowners get into trouble because a task looks simple on video but requires a specific tool, a specific door configuration, or a second set of hands.
Bucket 1: Safe DIY
- Lubricating rollers, hinges, and tracks. A proper garage door lubricant, applied to moving metal parts a couple of times a year, quiets the door and slows wear. No stored energy is released.
- Visual inspection. Walk the door up and down and look for frayed cables, bent hinges, gaps in the weather seal, and worn rollers. Zero risk.
- The balance test. Disconnect the opener and lift the door by hand halfway. It should stay put with light effort. More on this below.
- Tightening exposed bolts on the hinges and roller brackets. Standard hand tools, no springs involved.
- Cleaning the photo-eye lenses at the base of the tracks. A dusty lens is the single most common cause of a door that won’t close.
Bucket 2: Possible DIY With Real Prerequisites
- Weather seal replacement along the bottom of the door. Safe if the door stays fully closed or up, but you need the correct seal profile, and older Lakewood doors often use a size that isn’t sold at every hardware store.
- Remote and keypad reprogramming. Safe with the manual for your specific opener. Chamberlain and Genie units, for example, each use a different pairing sequence, and mixing them up is why people think their remote is broken.
- Roller replacement. Doable if you can raise the door to take tension off the rollers and you have a proper ladder and a second person to help.
- Bottom bracket replacement on some doors only after the springs are fully de-tensioned by a professional. Never on a door with live spring tension.
Bucket 3: Always Professional
- Torsion spring replacement or adjustment.
- Extension spring replacement or adjustment.
- Cable replacement, including the cables that run alongside the springs.
- Track alignment after a door has been hit or come off the rails.
- Opener motor replacement or logic board work.
- New door installation.
- Any work on a door that has already failed or is sagging unevenly.
Why Springs and Cables Are Always a Professional Job
A torsion spring holds the entire weight of the door in tension. When it’s adjusted or replaced, that stored energy has to be released, wound, and re-secured in exactly the right increments. There is no safe shortcut. We’ve seen the aftermath of DIY spring swaps enough times to say this without hedging: this is the one category where the risk isn’t proportional to the payoff. The savings on a spring job rarely justify the hospital bill risk.
Cables are the same story with a different mechanism. A cable under tension can whip when it releases. Even experienced technicians treat them with respect and use specific winding bars and clamps that homeowners don’t own. The tools alone cost more than the labor on a professional garage door repair call.
There’s also a subtler problem: a spring can be replaced with the wrong gauge or wrong number of turns, and the door will “work” for a while before failing catastrophically. Improperly tensioned springs wear out faster, stress the opener, and put uneven load on the cables. You won’t notice any of it until something breaks. A door that’s been adjusted correctly by a trained technician runs quieter, lasts longer, and doesn’t chew through openers.
If you’re not sure whether your door is torsion or extension, that uncertainty alone is a sign to stop and call. Identifying the system is easy once you know what you’re looking at, but ordering the wrong part, or breaking the wrong bolt loose, is not.
What Watching a YouTube Tutorial Doesn’t Cover
Video tutorials are useful. They also skip the part that matters most: identifying what you have before you order anything. A spring tutorial for a torsion system will look nothing like the front of a door with extension springs, and the two systems fail in completely different ways. If you skip that step, you either waste money on parts or you start the job on the wrong door.
How to Tell Your Spring System Apart Before You Buy Anything
- Look above the door. A torsion spring sits on a metal shaft running horizontally across the top, mounted on a center bearing plate. If you see that, you have a torsion door.
- Look beside the tracks. Extension springs run lengthwise along the horizontal tracks on each side of the door, usually with a safety cable running through them. If you see those, it’s an extension setup.
- Count the springs. A single-car door often has one torsion spring; a two-car door often has two. A matched pair should be replaced together, which affects cost more than most tutorials admit.
- Check the door height. Standard height is 7 feet, and that’s what most tutorials show. Non-standard heights need different spring lengths and different cable lengths.
- Check the door weight. Insulated doors and doors with windows weigh substantially more than basic steel doors and need heavier springs.
You don’t need to diagnose the exact spring rating to hire someone, but knowing whether you’re looking at torsion or extension, and whether your door is one or two springs, means the person you call can bring the right parts the first time. That saves days of waiting between the diagnosis and the fix.
The Hidden Costs of DIY That Close the Savings Gap
The typical DIY savings calculation goes like this: the part costs $X, the pro charges $Y, so I save $Y minus $X. That math forgets four things. Here’s the full picture for a garage door job, laid out the way we’d think about it if we were standing in your driveway.
Tools
Spring work requires winding bars of the correct size. Cable work needs locking pliers and clamps. Track alignment needs a level and often a framing square. Roller and bearing work wants a socket set in the right sizes. A homeowner doing one job will buy or rent most of this, and the purchase cost eats a meaningful chunk of the savings.
Consumables
Garage door hardware needs the right lubricant, not WD-40. Wrong lubricant attracts dust and gums up rollers. If you’re replacing a weather seal, you need the correct profile and often a separate adhesive or retainer. Small items, but they add up.
Disposal
Old springs, cables, and doors don’t go in the trash can. Springs are heavy metal, and in the Lakewood area you’ll need to arrange a separate metal disposal or wait for a bulk pickup. A pro hauls it away as part of the job.
The Cost of Fixing a DIY Mistake
This is the big one. A wrongly wound torsion spring, a door knocked off its track during installation, a bottom bracket stripped by a homeowner who didn’t secure the door first: each of these turns a mid-size repair into a bigger one. Repairing a DIY mistake almost always costs more than the original professional job would have, because now the pro has to undo the mistake and then do the work correctly. That second-cost scenario is the reason we tell people to be honest with themselves about which bucket a task falls into.
Why Lakewood Homes Carry Extra DIY Risk
Lakewood is not a uniform city, and the housing stock in different neighborhoods creates different levels of garage door risk. The older the door, the more likely it’s holding hardware from an era when standards were different, and the more likely a homeowner’s generic tutorial doesn’t match what’s actually in the garage.
Older Homes With Non-Standard Door Heights
Lakewood has a substantial number of mid-century homes built in the 1950s through the 1970s. Garage doors from that era are frequently shorter than the current 7-foot standard, and some are taller. A spring sized for a standard door won’t balance a door at a different height. If you’re replacing parts based on a tutorial, you’re almost certainly ordering the wrong specs. Getting this right starts with measuring the door opening, not the door itself, and confirming the height before buying anything.
Doors With Original 1980s Hardware
Doors from the 1980s often have bottom brackets, hinges, and spring systems that have never been touched. Original hardware from that period is prone to fatigue, and the bolts are often seized. A seized bolt on a live spring assembly is not the same as a seized bolt anywhere else in the house. What looks like a five-minute fix becomes a two-hour wrestling match with a component that could release under load.
Two-Car Doors Behave Differently Than Single Doors
A two-car door is heavier, wider, and often has a different spring count than a single-car door. The center of a wide door flexes more, so uneven spring tension shows up as a door that sags in the middle even when both sides look balanced. Homeowners who fix one spring on a double door and leave the other in place create an imbalance that wears both the good spring and the opener faster. If you have a double door and one spring has failed, the right fix is almost always a matched pair, and it’s a professional job either way.
Dry Air and Seasonal Movement
The front range climate swings between wet springs and very dry winters. Wooden door frames and mounting surfaces move with the seasons, and hardware that was snug in May can be loose by January. A door that seemed fine in the summer can develop a rattle, a track misalignment, or a strain on the opener by mid-winter. That’s exactly when the balance test is worth running again, and it’s a reason to check the door twice a year instead of once.
The One Diagnostic Task Always Worth Doing Yourself
Before you call anyone, run the balance test. It’s free, it’s safe, and it tells you and the technician a lot about the door in under five minutes. Whether the door passes or fails, you’ve saved yourself time in the conversation.
How to Run the Balance Test
- Close the door fully. Make sure the opener is engaged and the door is on the ground.
- Pull the release handle to disconnect the door from the opener. On most openers, this is a red cord hanging from the rail.
- Lift the door slowly by hand to about halfway. Use the handle or the bottom edge, not the panels. Keep your feet clear.
- Let go. A properly balanced door stays where you leave it. A door that drops means spring tension is too low. A door that rises on its own means the springs are too tight.
- Reconnect the opener by pressing the release handle back into position, then open and close the door with the opener to confirm the reconnect worked.
What to look for: a door that won’t stay halfway needs service before long. A door that falls fast could be a spring problem or a cable problem, and either one is a professional job. If the door is heavy but reconnects normally, you’ve bought yourself some time but the door is telling you a spring is on its way out. In our experience, catching a failing spring this way is the difference between a routine repair and a broken door sitting in the driveway for a day. That diagnostic is worth doing alone, and it’s the single most useful thing a homeowner can do before picking up the phone.
If the door passes the balance test but the opener still acts up, that’s its own separate problem. Opener issues and door issues overlap, and untangling them is the diagnostic question in the next section.
Diagnosing the Opener Versus the Door
Half the “my garage door is broken” calls we see aren’t door problems at all. They’re openers doing exactly what a struggling door has forced them to do. The motor strains, the safety reverse trips, the door reverses partway down, and the ceiling unit takes the blame. Sorting out which component is failing changes both the fix and the cost.
Signs the Door Is the Problem
- The door is visibly heavy or drops when you lift it by hand.
- You hear creaking or popping from the springs or tracks.
- The door sags on one side, or sits unevenly at the floor.
- Rollers are visibly worn, cracked, or flat-spotted.
Signs the Opener Is the Problem
- The door runs smoothly by hand but the opener struggles.
- The motor hums but nothing moves.
- The lights flash in a pattern that doesn’t match the manual.
- The remote works only at close range or not at all, and the wall button still works.
When in doubt, run the balance test first. A door that fails that test will wear out any opener, no matter how new it is. If the door passes and the opener still misbehaves, you’re looking at a garage door opener repair call. We treat opener repair as a separate service line for exactly this reason: the door and the opener need separate diagnostics, and a general door repair call often misses the opener as the root cause.
Common Mistakes to Avoid
- Treating all garage door work as one category. Skill level isn’t the deciding factor. Stored energy is. Lubrication and balance checks are safe; springs and cables are not, and the gap between them isn’t a matter of confidence.
- Ordering parts before identifying the spring system. Torsion and extension parts aren’t interchangeable, and a tutorial for one won’t work on the other. Identify first, order second.
- Lubricating with the wrong product. WD-40 and household oils attract dust and turn rollers gritty. Use a proper garage door lubricant on hinges, rollers, and tracks.
- Replacing one spring on a two-spring door. A matched pair shares the load. Replacing one leaves the old spring doing half the work alone and both wear faster. On a two-car door in Lakewood, this is the mistake we see most.
- Assuming standard door height on an older home. Lakewood’s mid-century stock frequently has non-standard heights. Measure the opening before ordering anything.
- Ignoring seasonal movement. Front range temperature swings loosen hardware between summer and winter. What was tight in July may rattle by January.
- Assuming the opener is broken when the door is struggling. Run the balance test first. A struggling door will wear out any opener, new or old.
- Unplugging the safety photo-eye to “fix” a door that won’t close. The safety reverse is there to stop the door on people and objects. Fix the alignment or clean the lens instead of disabling it.
When to Call a Professional
Call a professional any time the work involves springs, cables, track alignment after a door has been hit or come off the rails, opener motor replacement, or a new door. Call also if the door fails the balance test, sags on one side, or makes popping or creaking sounds during operation. If your garage door is over 15 years old and has never been serviced, that’s a reason to have it inspected before anything goes wrong, especially on a two-car door.
If you’re in an older Lakewood home with original 1980s hardware or a non-standard door height, the calculation tilts professional even for tasks that would be DIY-safe on a newer door. Old hardware doesn’t behave the way a tutorial assumes, and bolts that haven’t moved in thirty years don’t loosen politely.
At Linden Garage Door Repair, we handle repair, opener repair, and installation as separate service lines, so a door problem and an opener problem get diagnosed on their own terms. We’re certified on eight major garage door and opener brands including Chamberlain, Genie, Clopay, and Amarr, so whatever is on your door, we can work on it without asking you to call someone else. Estimates are free and the written price is set before any work starts.
If you’re not sure whether your issue is DIY-safe, the fastest way to find out is to call. Reach us at (855) 554-3769. We answer 24/7. Fast dispatch from 7am to 7pm, Sunday through Friday.
Frequently Asked Questions
No, a garage door spring should not be replaced by a homeowner. Torsion and extension springs are under enough tension to cause serious injury, and the correct spring size depends on door weight and height, which varies in Lakewood’s older housing stock. This is a task where professional help isn’t a matter of convenience, it’s a matter of safety. Call (855) 554-3769 and we’ll give you a free estimate before any work starts.
Garage door repair in Lakewood is priced per job and set by a written estimate, so the number depends on the specific fault: spring replacement, cable work, track alignment, or opener service each falls into a different range. We write the price down before work begins so there’s no surprise when the invoice arrives. Call (855) 554-3769 for a free estimate on your door.
We handle many repair calls same-day, depending on the schedule and the parts needed. If your door is stuck open or won’t close, call (855) 554-3769. We answer 24/7, and dispatch runs from 7am to 7pm, Sunday through Friday. A call outside dispatch hours is booked into the next opening, Sunday through Friday, 7am to 7pm.
No. The written estimate sets the price, and we confirm the scope with you before any work starts. If the inspection turns up a different issue than expected, we talk through the options and the price before touching anything, so there’s no surprise line item at the end. Call (855) 554-3769 for an exact quote; estimates are free.
Yes, our technicians are licensed and insured, and our technicians have up to 12 years of experience working on garage doors and openers. We work on the eight major brands including Chamberlain, Genie, Clopay, and Amarr, so the recommendation you get is based on your door’s actual condition, not on a single manufacturer relationship. Call (855) 554-3769 to book a free estimate.
It’s usually a door problem wearing out the opener, not a failing opener. Disconnect the opener and lift the door by hand halfway; if it won’t stay put, the door needs service before the opener does. If the door passes the balance test and the opener still struggles, that’s an opener repair call. Either way, call (855) 554-3769 for a free diagnosis.
The Bottom Line
The DIY-versus-professional question for garage doors isn’t answered by skill level. It’s answered by which task you’re actually doing. Lubrication, inspection, and the balance test belong in the homeowner’s bucket and they save time and money every time you run them. Springs, cables, and track work belong to a trained technician, because the energy stored in those parts isn’t forgiving of a wrong turn or a wrong tool. In Lakewood, older housing stock, non-standard door heights, and doors still holding 1980s hardware tilt the calculation professional more often than usual. Run the balance test, sort your task into the right bucket, and call when the bucket says call.
If you’d rather have someone look at it before you decide, Lakewood homeowners can reach us at (855) 554-3769 for a free estimate. We answer 24/7. Fast dispatch from 7am to 7pm, Sunday through Friday. We work on your brand, from a broken spring to a full new door, and the price is agreed before any work starts.
Written by the team at Linden Garage Door Repair.
See the difference
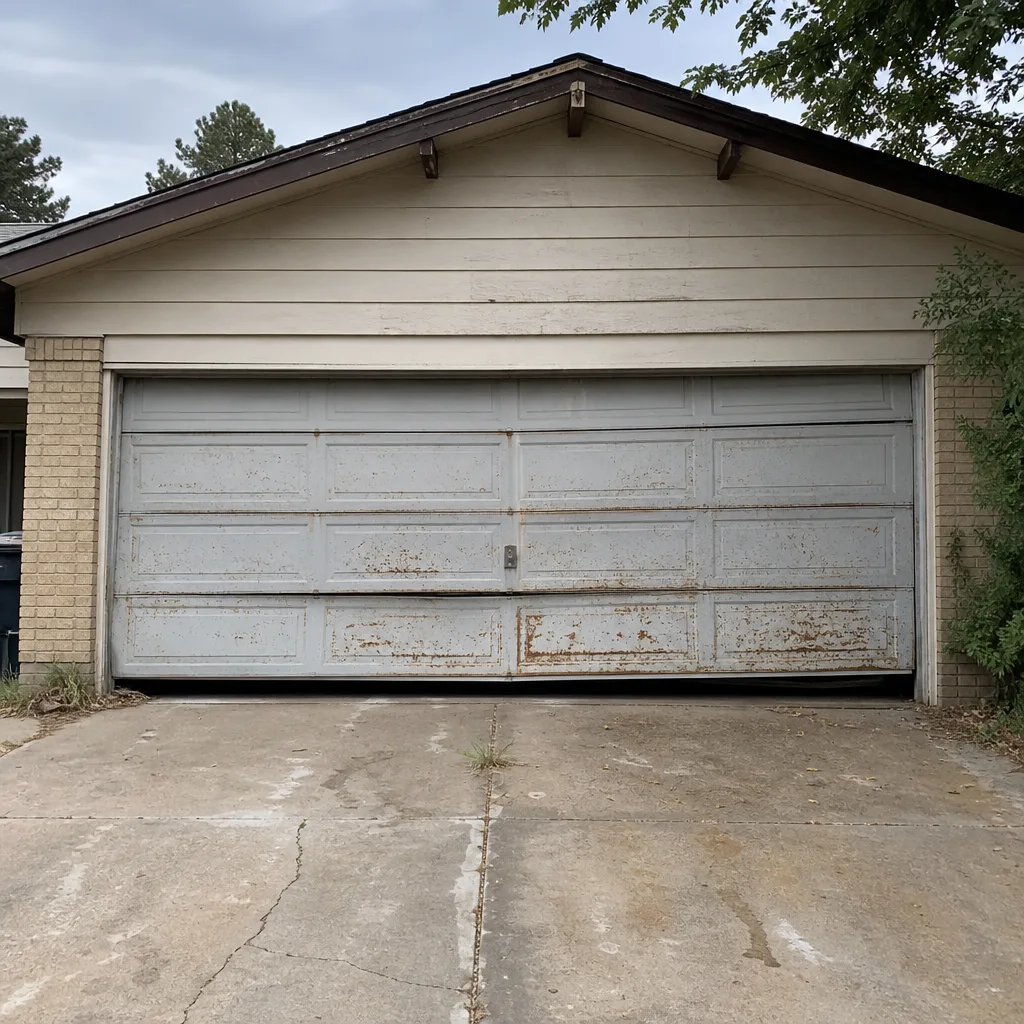 Before
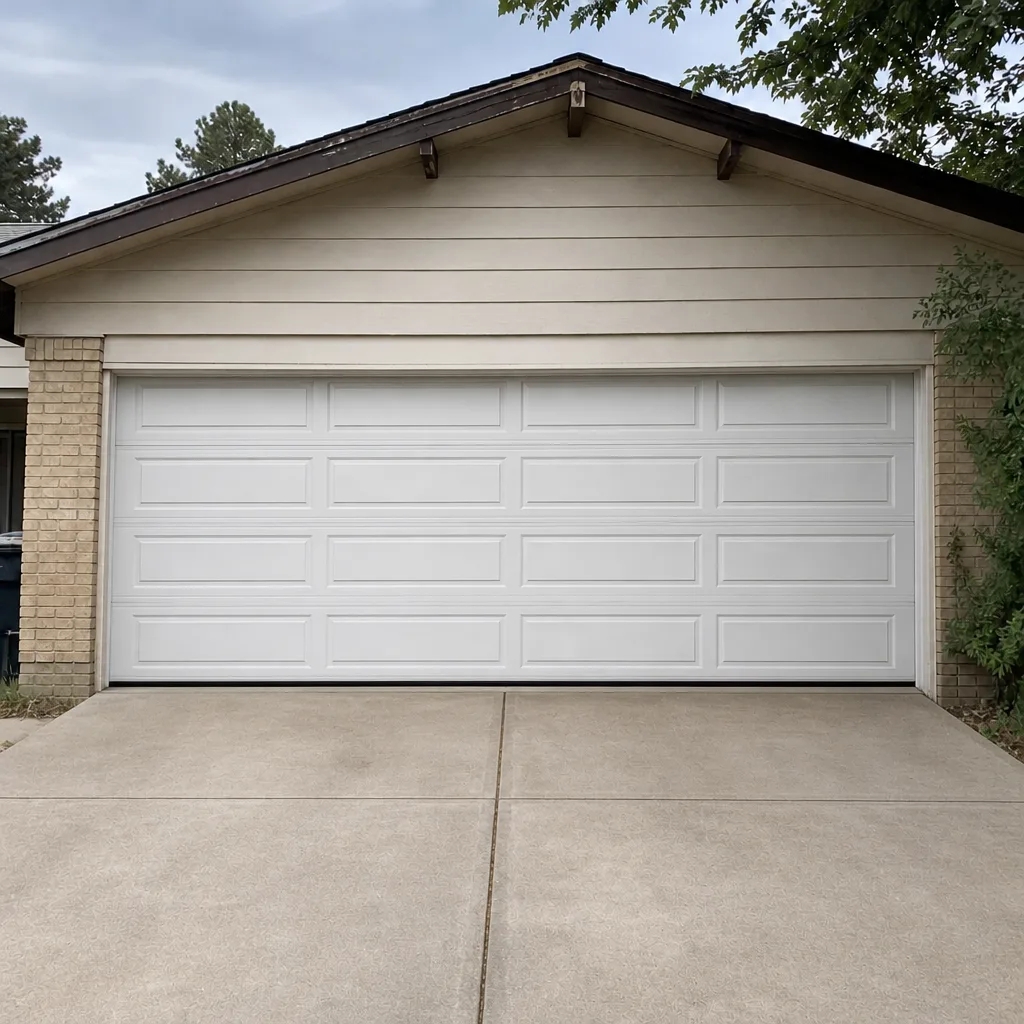 After
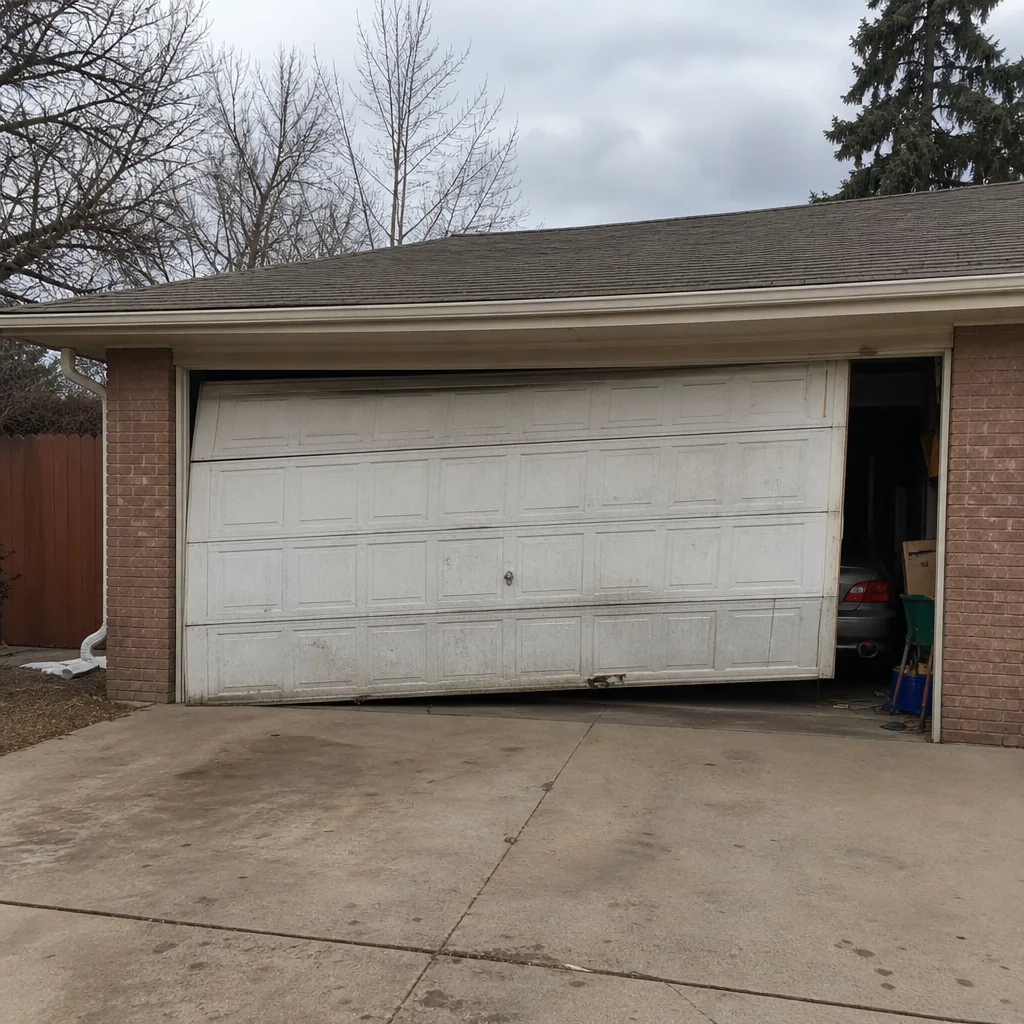 Before
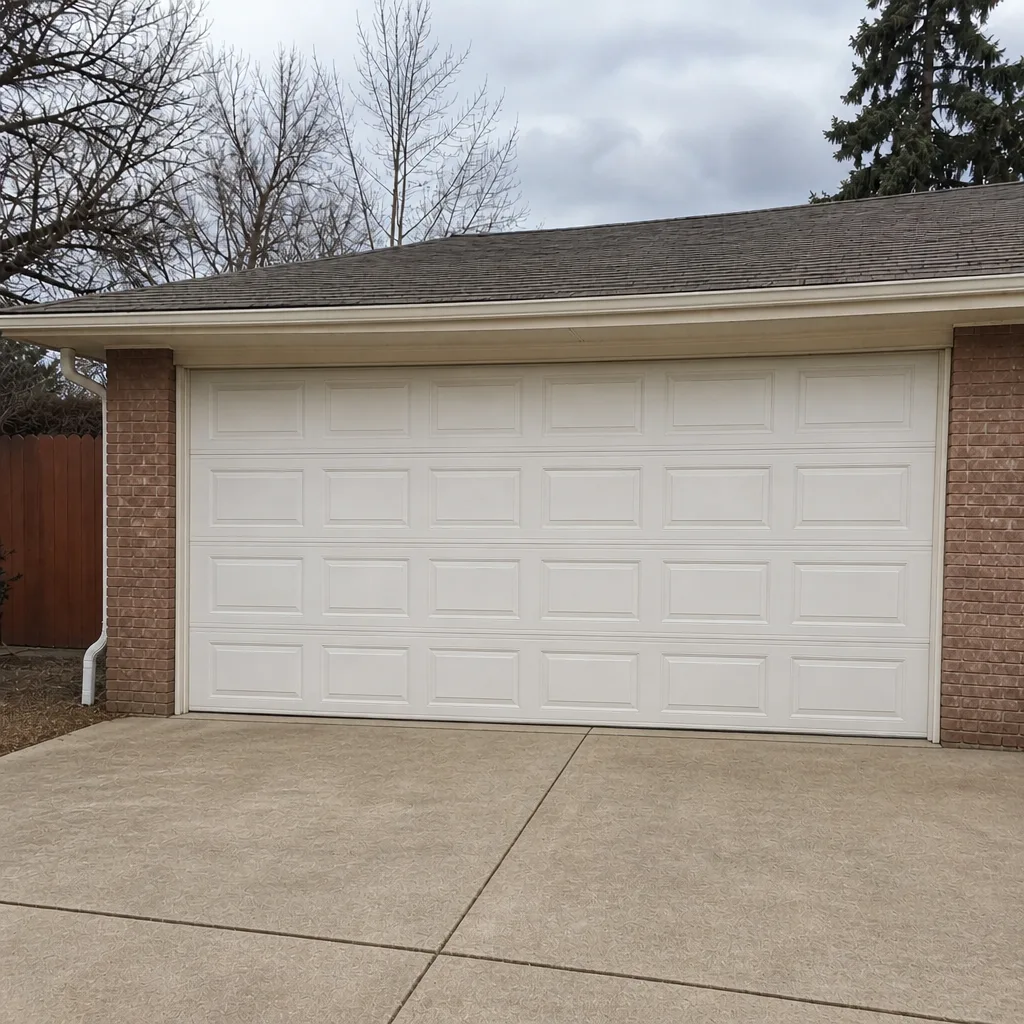 After
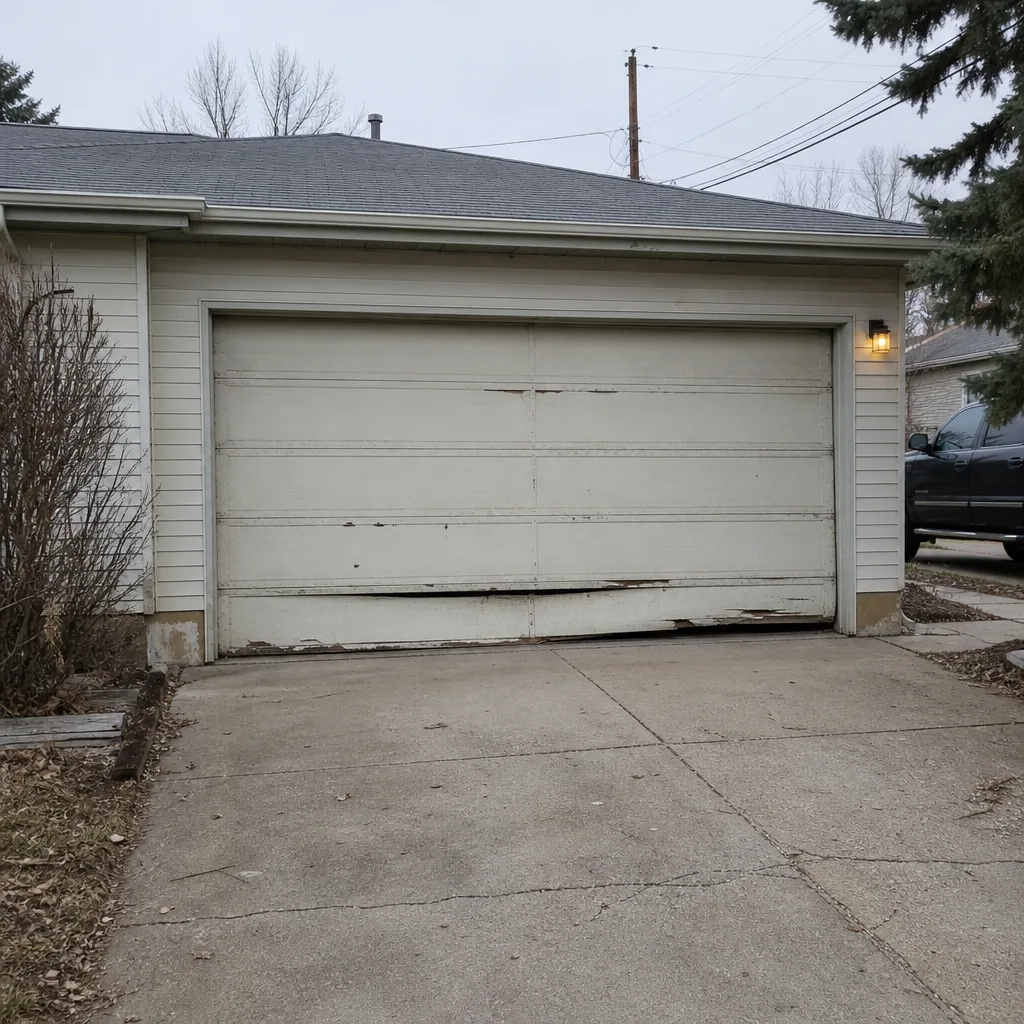 Before
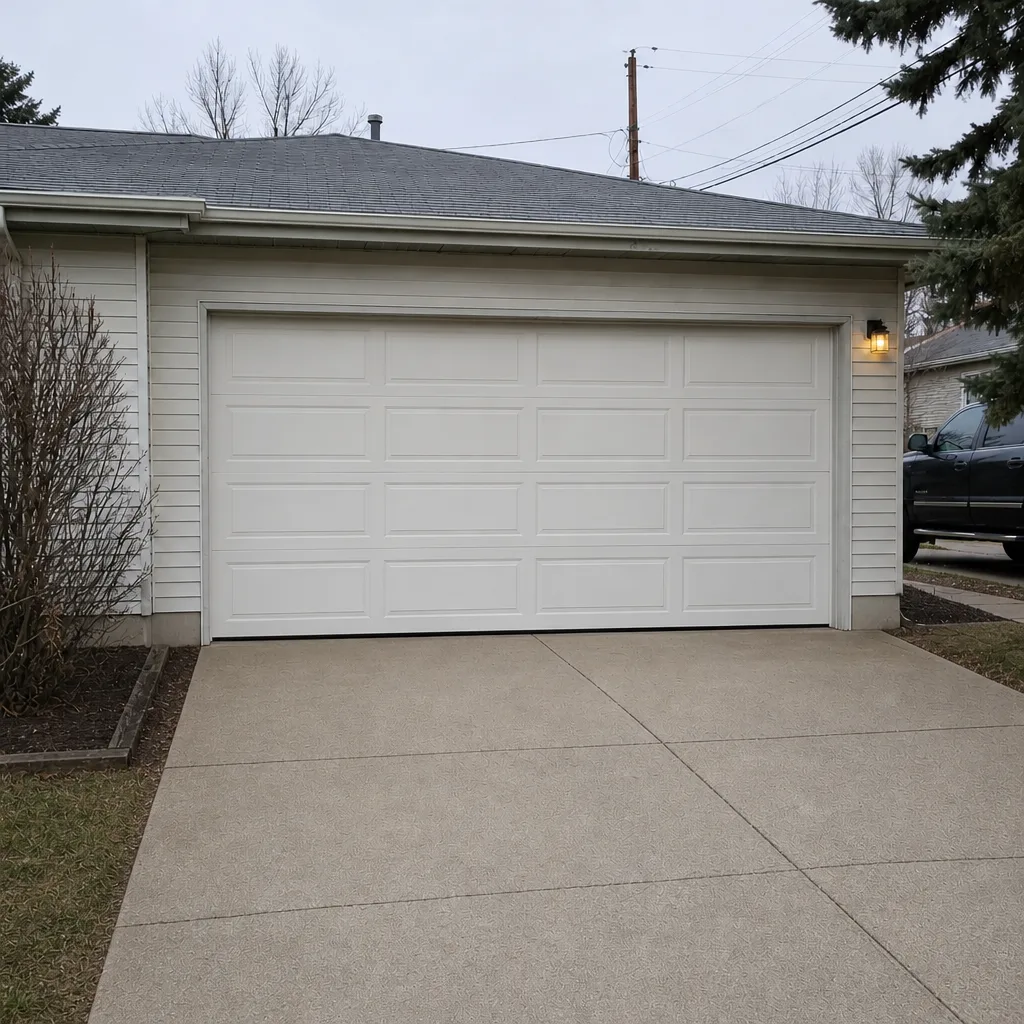 After